In this tutorial, we’ll explore an overview of the text-to-image functionality in Automatic1111. We’re assuming that you have already installed Automatic1111 and have some experience generating images using its text-to-image feature. If you’re new to Automatic1111 or need a refresher, we recommend visiting this helpful page first. Given that the interface of Automatic1111 has evolved over time and may continue to change, our focus will be on the key settings that are most impactful. So, let’s dive in and discover how to harness the full potential of this feature.
Model Selection
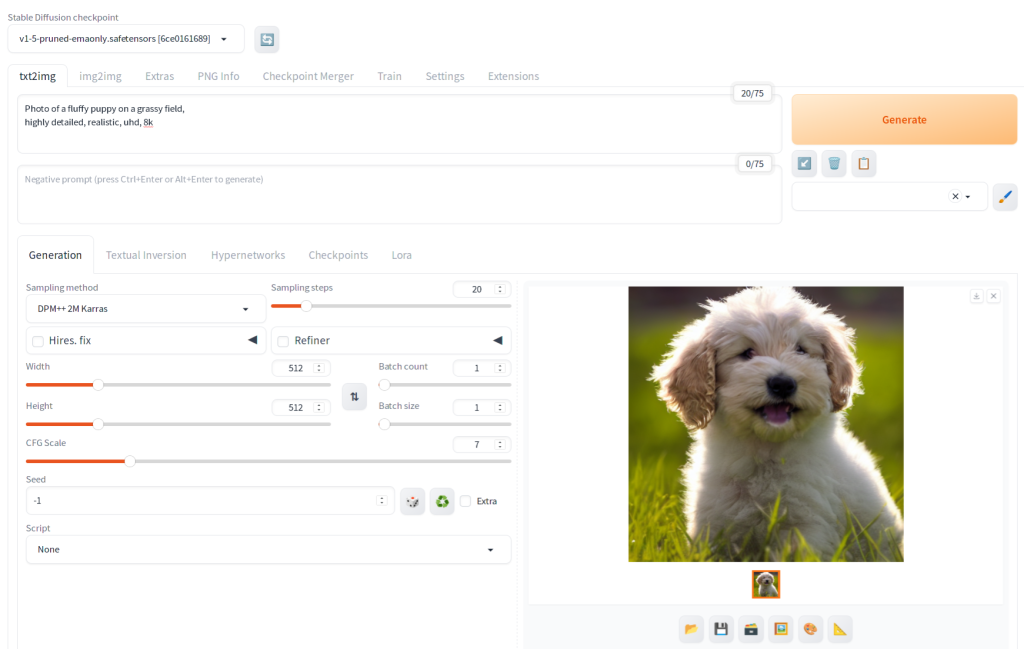
After launching Automatic1111, you’ll typically start on the ‘txt2img’ tab. Here, you can choose your desired model from the ‘Stable Diffusion checkpoint’ dropdown list. However, before you proceed, there are a few preparatory steps to ensure the best results:
- Determine the Desired Image Type: First, decide what kind of image you aim to create. Options might include:
- Realistic images
- Fantasy-themed images
- Anime-style images
- Find a Suitable Model: Browse model sharing websites to find a model that aligns with your desired image type.
- Note the Model Creator’s Settings: Pay attention to the generation settings recommended by the model creator. The most crucial information includes:
- Positive prompt
- Negative prompt
- Sampling method
- Sampling steps
- CFG Scale
- Download and Place the Model: Download the chosen model and place it in the
models/Stable-diffusiondirectory within your Automatic1111 installation folder.
After setting up the model file(s), click the button with two arrows next to the ‘Stable Diffusion Checkpoint’ to refresh the model list.
To select your model:
- Open the dropdown list and choose the model you’ve downloaded (e.g., ‘meinamix_meinaV7.safetensors’).
- If the downloaded model doesn’t appear, close your browser, restart Automatic1111, and then reopen the browser.

By following these steps, you’ll be ready to start generating images with your chosen model in Automatic1111
Positive and negative prompts
Directly beneath the txt2img tab in Automatic1111, you will find fields to enter positive and negative prompts. In the positive prompt field, describe the attributes you wish to see in your generated image. Conversely, use the negative prompt field to specify elements you want to exclude from your image. Be aware, though, that this method isn’t failproof – the characteristics you specify in both positive and negative prompts may not always be accurately reflected in the final image.
The prompts are crucial for steering the direction of image generation. A practical strategy is to start with the prompts recommended on the model sharing website for your chosen model, then gradually adjust both positive and negative prompts as needed.
Take note of the ’25/75′ indicator in the interface: ’25’ represents the number of tokens used, which roughly corresponds to one word per token (although some words might require more than one token). The ’75’ refers to the original token limit in Stable Diffusion, but Automatic1111 can automatically extend this limit if you go beyond 25 tokens.
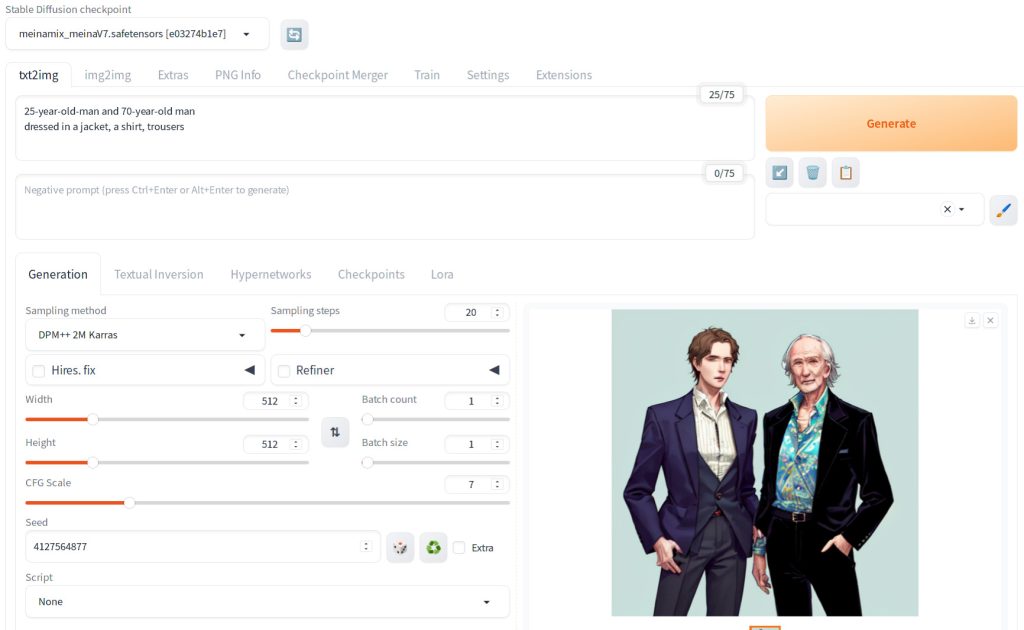
Below is an illustration showing the impact of using negative prompts in image generation. The first image was generated without any negative prompt.
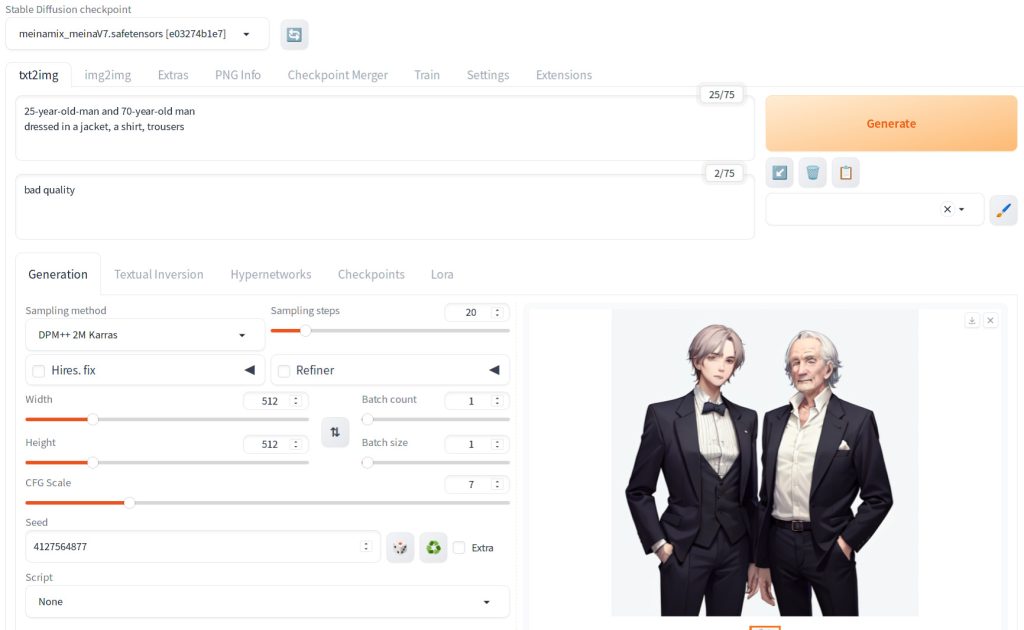
The second image below was generated with negative prompt “bad quality”. Note that interpretation of bad quality can be subjective, but it shows a slightly more polished look.
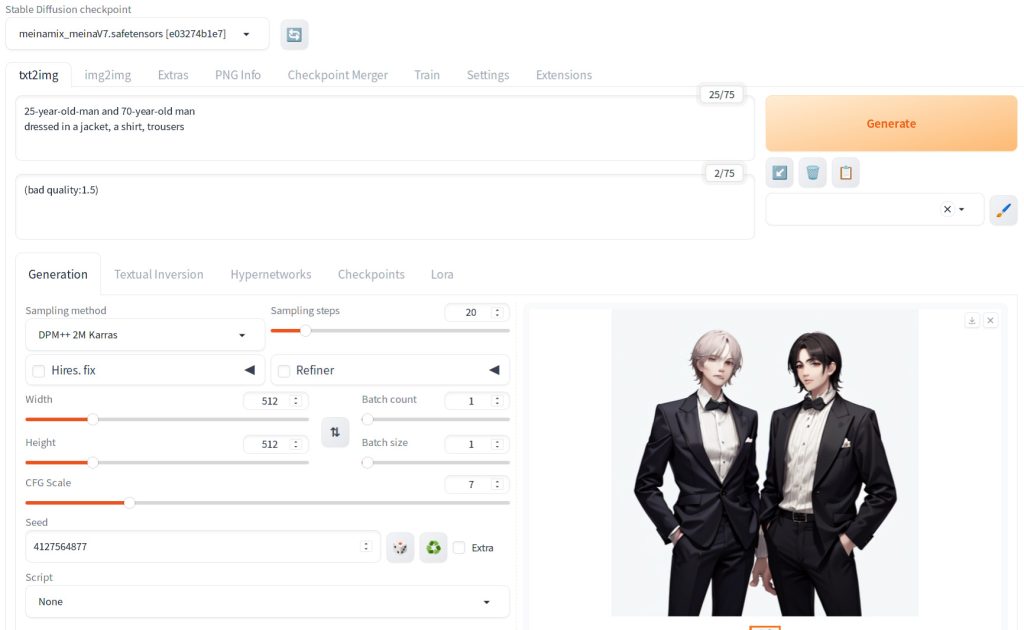
Automatic1111 supports modifying the strength of token by enclosing in parentheses and specifying a number. In this case, the strength of “bad quality” was 1.5x of the original. This impacted the rendering of the man on the right.
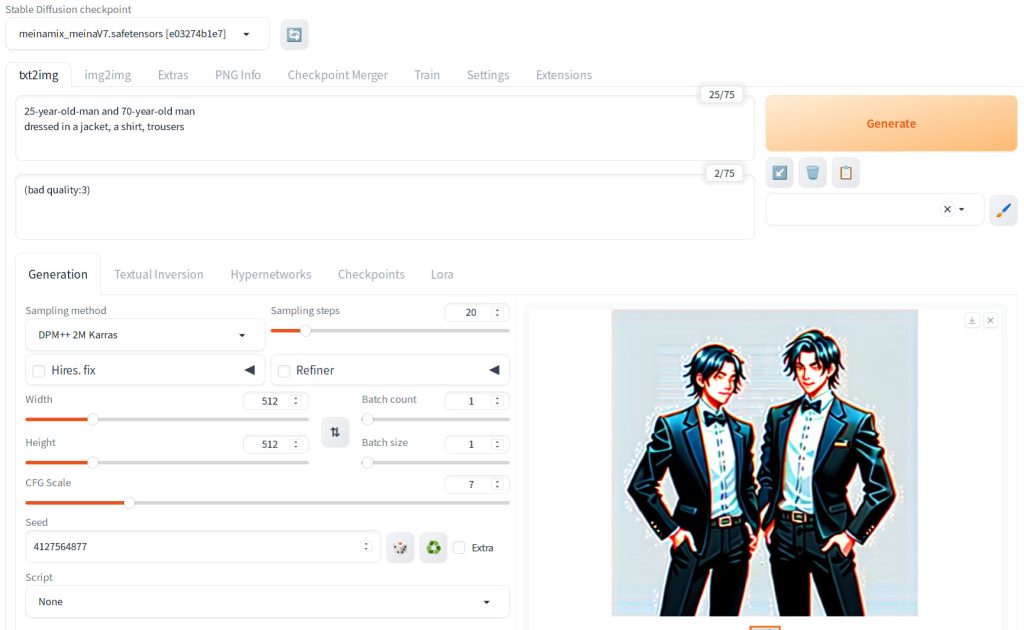
Subtle change in strength of embedding has significant impact on the image generation. In general, specifying multipliers greater than 2 can lead to a low quality image. Below uses 3.
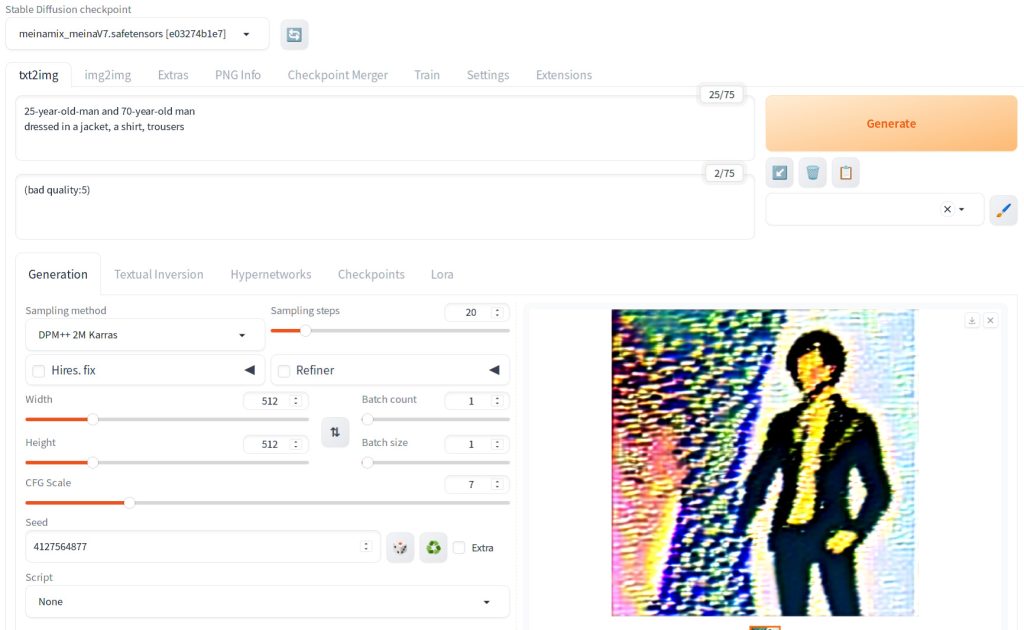
This is an extreme example of using 5 as the multiplier.
Sampling method
The sampling method in Stable Diffusion determines the sampler used during the denoising process of image generation. In this process, the UNet model predicts the noise present in a ‘noisy’ image. A sampler then uses mathematical computations to remove the required amount of noise at each iteration step specified in the ‘Sampling steps.’
There are many samplers to choose from, each offering different results and generation times. If you have obtained the sampling method of the model author recommends when you downloaded the model, then try that first. If you didn’t see the suggestion by the author and If you’re new to this or unsure which sampler to start with, consider experimenting with these three popular options:
- Euler
- Euler a
- DPM++ 2M SDE Karras
Be mindful of the generation time, as it can vary significantly depending on the sampler you select.
Sampling steps
The ‘Sampling steps’ refer to the number of iterations the denoising process undergoes on a noisy image. Similar to selecting a sampling method, if you’re unsure of the ideal number of steps and the model creator hasn’t provided specific recommendations, a good starting point is 20 steps. You can then gradually increase this number if needed. Notably, some artifacts observed in the generated image can disappear with a higher number of sampling steps.
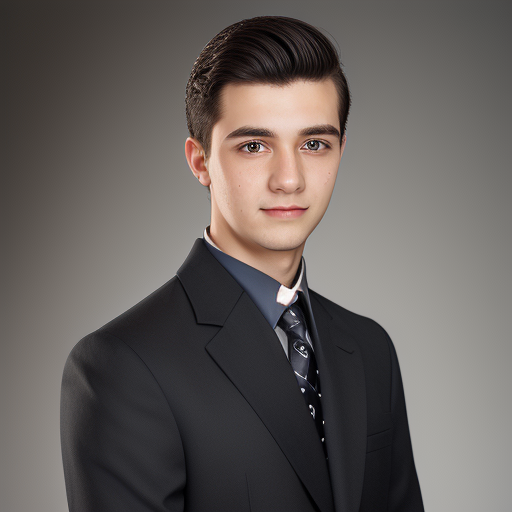

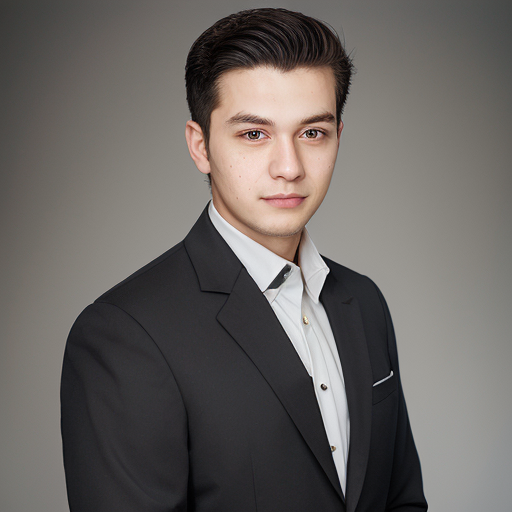
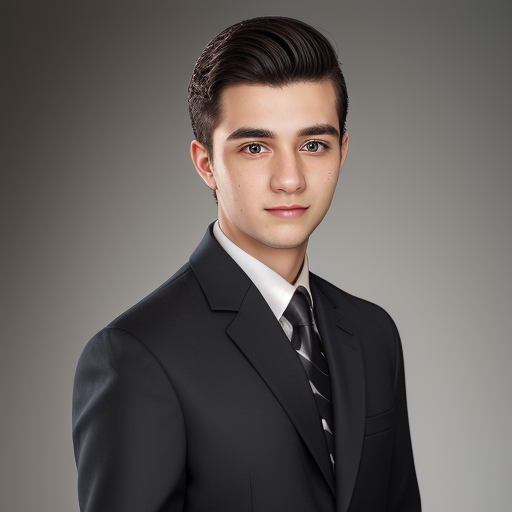
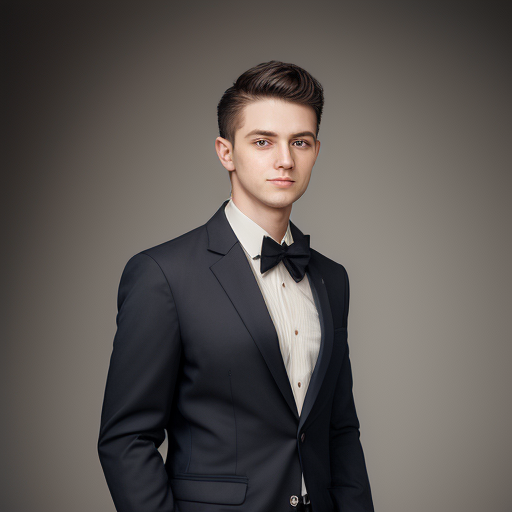
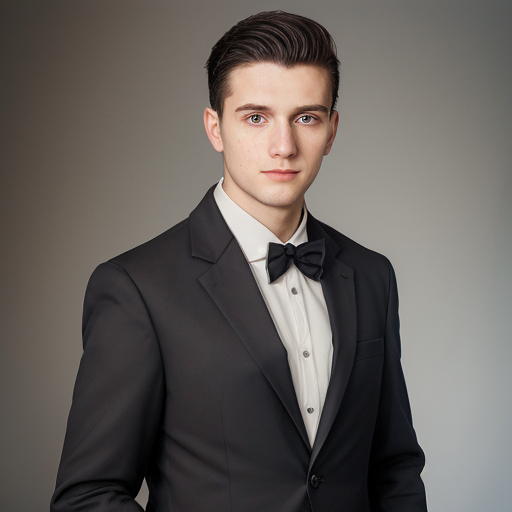
Image generation parameters used (this is for Euler A 40 steps. Only Sampler and step numbers are changes for other generation).
{'parameters': 'Professional portrait of a 25-year-old-man, headshot, studio\ndressed in a formal jacket, a dress shirt, trousers\nNegative prompt: low quality\nSteps: 40, Sampler: Euler a, CFG scale: 7, Seed: 4127564877, Size: 512x512, Model hash: caa95002a1, Model: epicrealism_pureEvolutionV5-inpainting, Conditional mask weight: 1.0, Version: v1.7.0'}
Hires fix. and Refiner
Keep them unchecked for now. We will provide another article to effectively use these parameters. Stay tuned!
Width and Height
These settings allow you to specify the dimensions of the generated image in terms of pixels. For Stable Diffusion v1-5, commonly used dimensions include 512×768 (height x width), 768×512, or a square format of 512×512. Be mindful that increasing these dimensions significantly may lead to unexpected artifacts in the image, such as duplicated elements like two heads. Staying within these suggested ranges often yields the best results. For SDXL, you can specify 1024×1024.
Batch count & batch size
The Batch size determines the number of images generated simultaneously, while Batch count sets how many of these batches you want to process in each generation session. Consequently, the total number of images generated equals the product of these two values. For instance, setting a batch size of 8 and a batch count of 3 will result in the generation of 24 images.
Be aware that the feasibility of a large batch size depends on your computer’s hardware capabilities. If you encounter issues like images not being generated, it’s advisable to check for out-of-memory errors and consider reducing the batch size. The maximum batch size currently supported is 8 (any value over 8 will automatically reset to 8), and the maximum batch count is 100.”
CFG Scale
CFG stands for classifier-free guidance scale. This controls the influence of your prompt during the denoising process. The larger the number, the influence will be stronger. Start with 7 and tweak to around 10. See our article Compressed Image Generator (Latent Diffusion) for the exact formula used in Stable Diffusion.
Seed
By clicking on the recycling button (represented by the right green triangle icon), you can reset the seed to the last used number. Keeping the seed fixed allows you to generate the same image repeatedly, provided you don’t change any other settings. To introduce variety and generate a new, random seed each time, click on the die icon located on the left. This action instructs Automatic1111 (A1111) to randomize the seed for each generation.
When fine-tuning an image, it’s important to maintain a consistent seed. This approach ensures that any changes you observe in the output are solely due to your parameter adjustments, rather than variations in the seed. If the seed is changed with each generation, it becomes difficult to determine whether the differences in the resulting images are due to your parameter modifications or the new seed.

Congratulations! You’ve now mastered the essential parameters for text-to-image generation in this tool. It’s time to start exploring and experimenting – enjoy the creative magic you can unleash with these newfound skills!