Installation
Automatic1111 is a great and easy to use package to generate images using Stable Diffusion and offers various functionalities. You can install from https://github.com/AUTOMATIC1111/stable-diffusion-webui The page has detailed instructions that you can follow.
Basic Usage
Once you follow the instructions to install all required software and models, type ./webui.sh. You should see console output similar to below. You do not need to activate virtualenv beforehand as it will be handled by automatic1111 internally. It will start the server and show you the URL to access. Your browser should automatically open up. If not, access the URL shown in the console.
(base) stable-diffusion-webui $ ./webui.sh
... (debug/info messages are omitted here for clarity)
Running on local URL:  http://127.0.0.1:7860
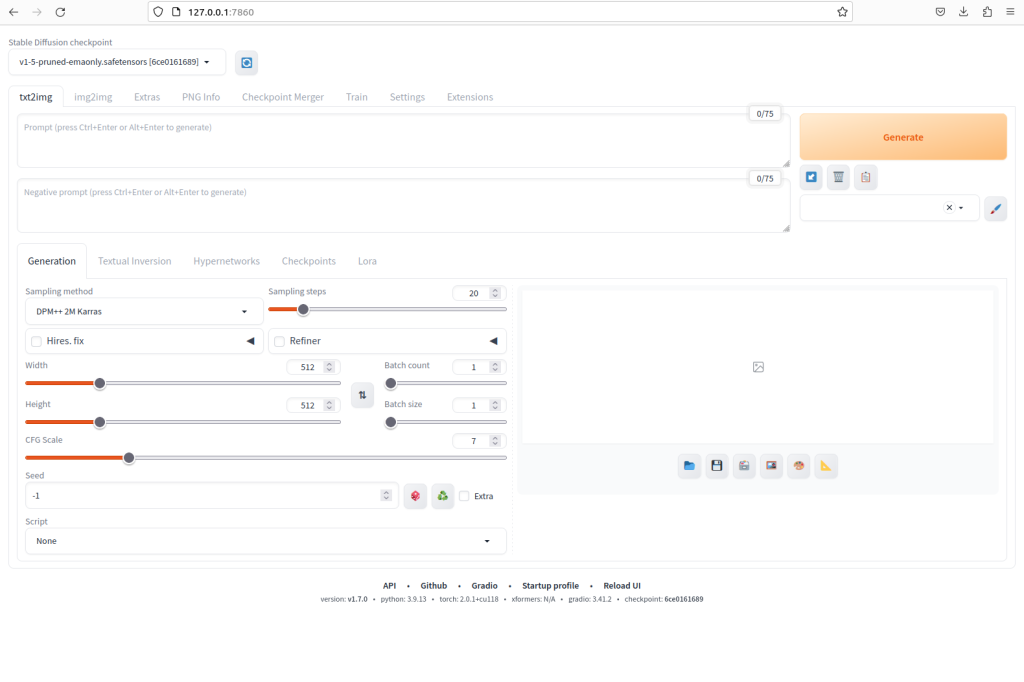
Once you access the URL, you will see the UI similar to below.

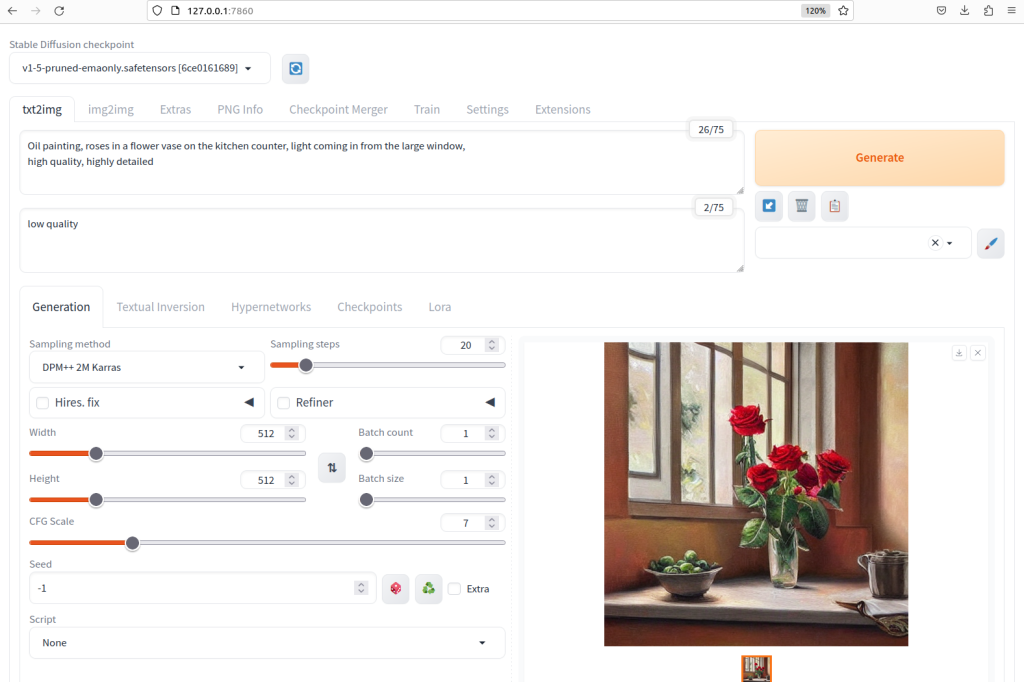
In order to generate an image, you need to pick a model and enter your prompts. At this point, you should see only one model listed in Stable Diffusion checkpoint drop-down list, so let’s use that for now:v1-5-pruned-emaonly.safetensors

Enter positive prompt in the upper text area under the txt2img tab):Oil painting, roses in a flower vase on the kitchen counter, light coming in from the large window,
high quality, highly detailed
Enter negative prompt in the lower text area under the txt2img tab)::low quality

Click Generate
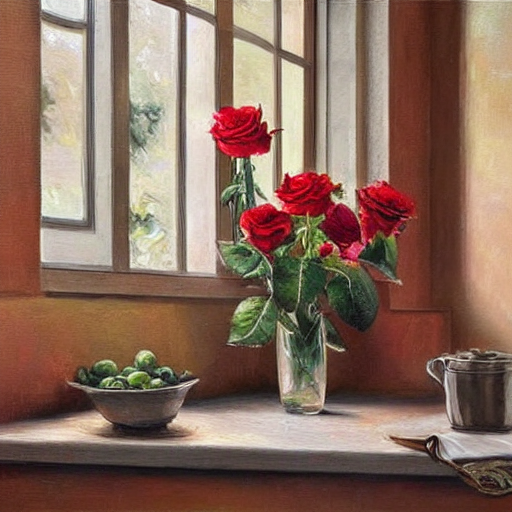
Then you should see something similar to below:

Your image has been saved in the ‘outputs’ directory within the automatic1111 package. Please note that a sub-directory is automatically generated in the format of ‘txt2img-images/’. For example, you can find your image at ‘stable-diffusion-webui/outputs/txt2img-images/<today’s date>’.

Congratulations! You’ve successfully created your own AI-generated art, marking the beginning of an exciting journey into unleashing your creativity. We hope this new approach to art-making brings you both joy and inspiration.
