Bing Image Creator offers the capability to generate high-resolution images for free, demonstrating a considerable understanding of user prompts. However, when aiming for photorealistic outputs, it might not always meet expectations. For instance, when I used the following prompt with Bing Image Creator, it produced four images that contained people who did not look real:
Super photorealistic image of a man in his 30s and a woman in her 20s in a Cadillac convertible on a busy street in Hollywood around 4pm during the summer. Both of them look perfectly happy and they are impeccably well-dressed. Quality of the image is on par with a professionally taken photograph.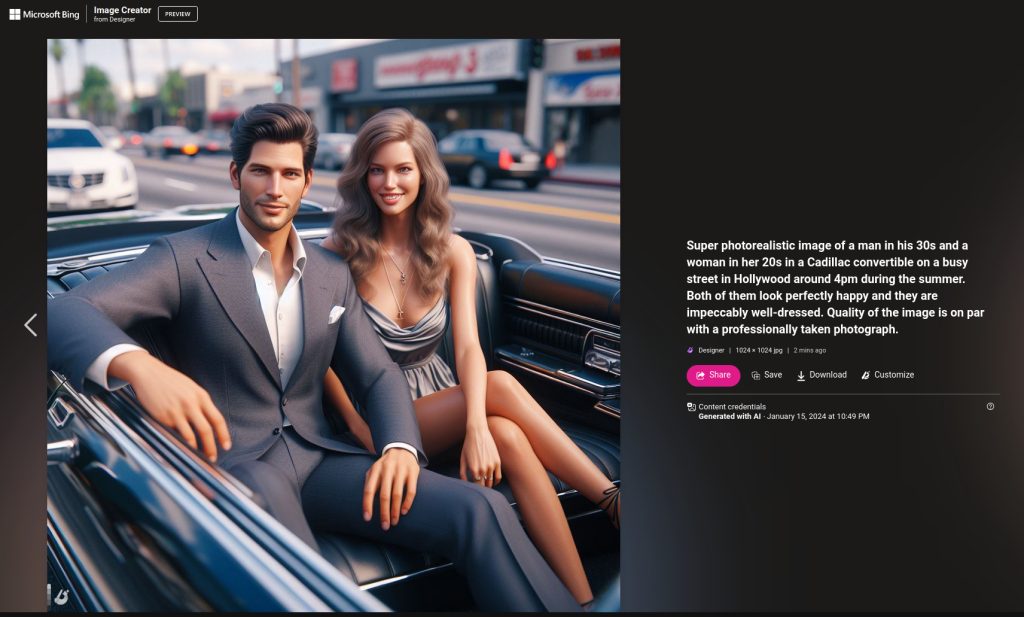
While the faces in the generated images aren’t entirely realistic and the jacket has a somewhat plastic appearance, the overall quality is quite impressive. In particular, the depiction of the man’s left hand is notably well-executed. As for his right hand, let’s imagine that he is intentionally bending his pinky inward as a quirky detail.
Other 3 images that were generated at the same time shared same issues as the first image. Here is one of them:
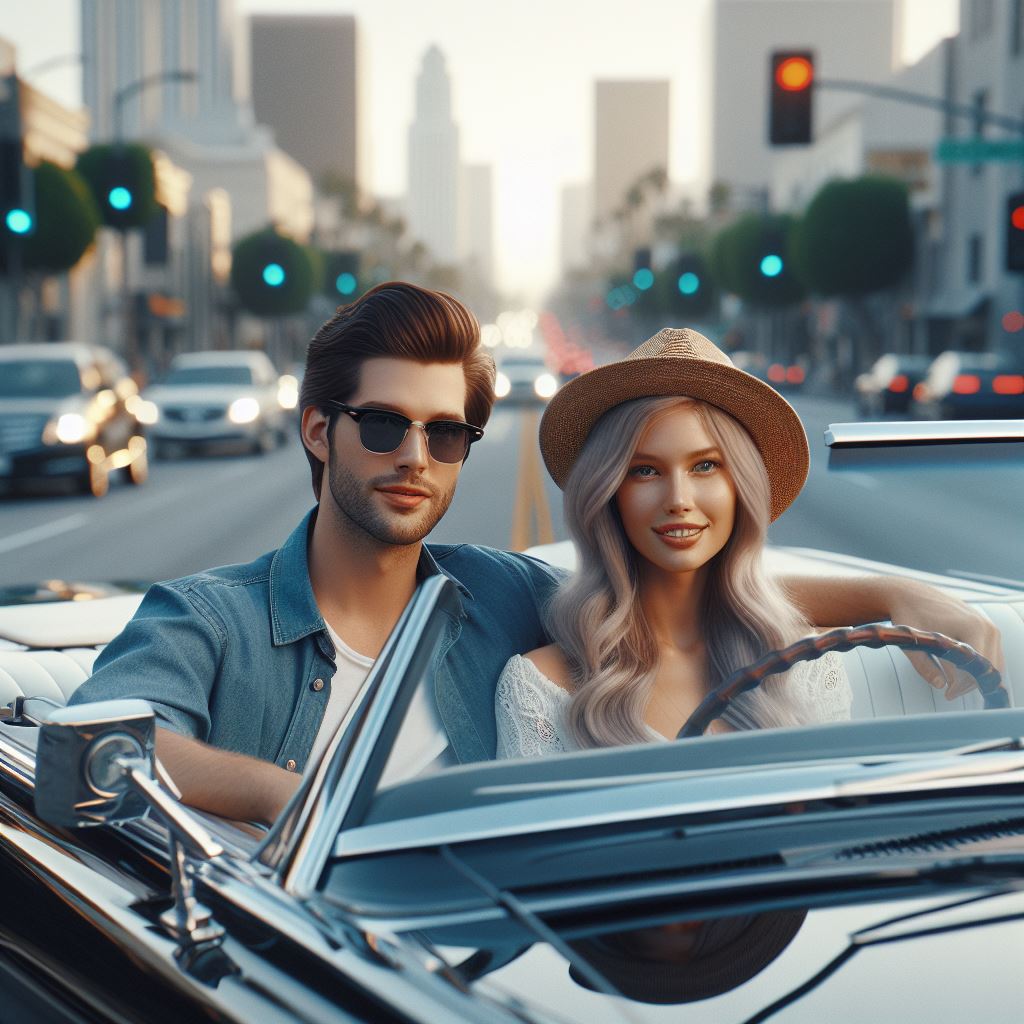
For non-realistic imagery, these images might already be satisfactory. However, if you’re aiming for a realistic look, consider using Automatic1111 to enhance the realism. Let’s explore how this can be achieved.
Overview of steps
Here are the overview of steps:
- Start by generating an image with Bing Image Creator.
- Use Automatic1111 to inpaint the face for improved details.
- Finally, apply img2img processing and upscale the image for enhanced quality.
Step 1. Generate an image using Bing Image Creator
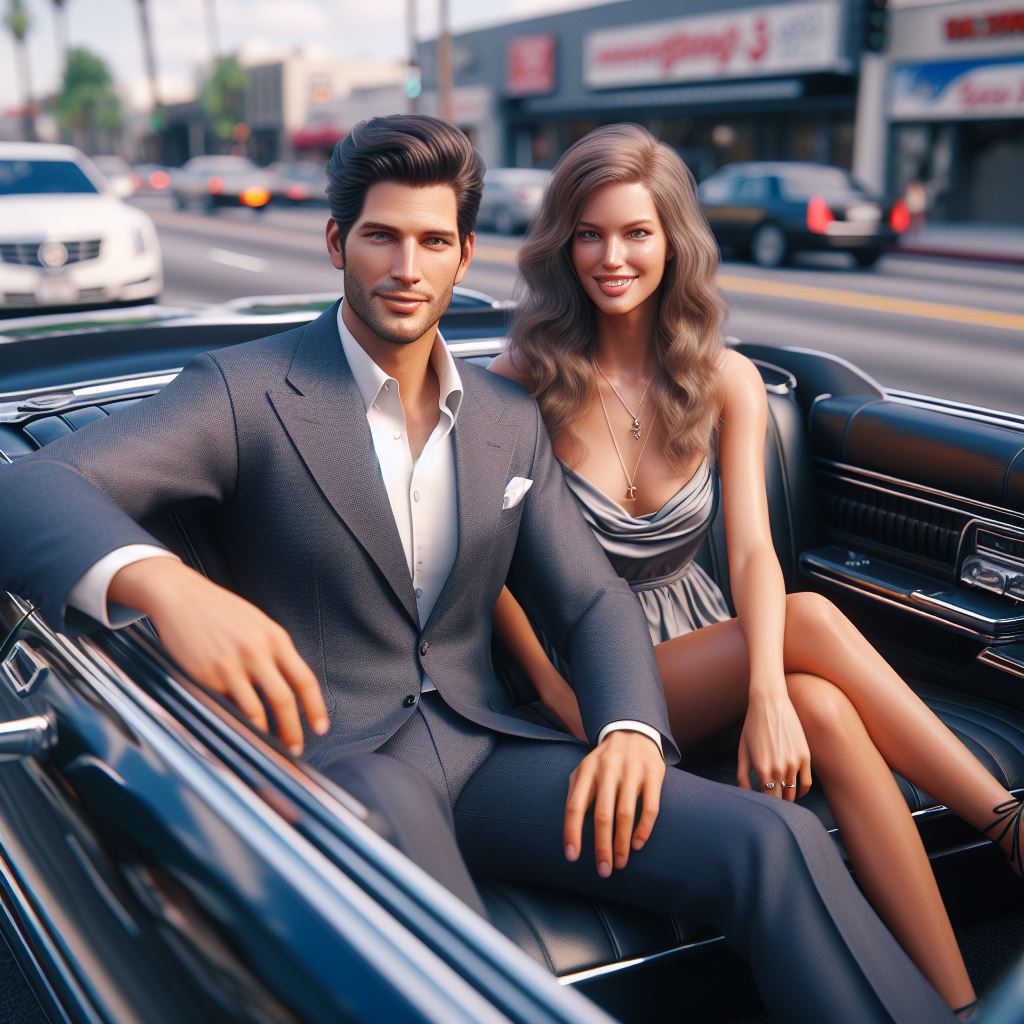
Our first step is to go to Bing Image Creator and generate an image, or you can use the below image.
Step 2. In Automatic1111, Inpaint the face
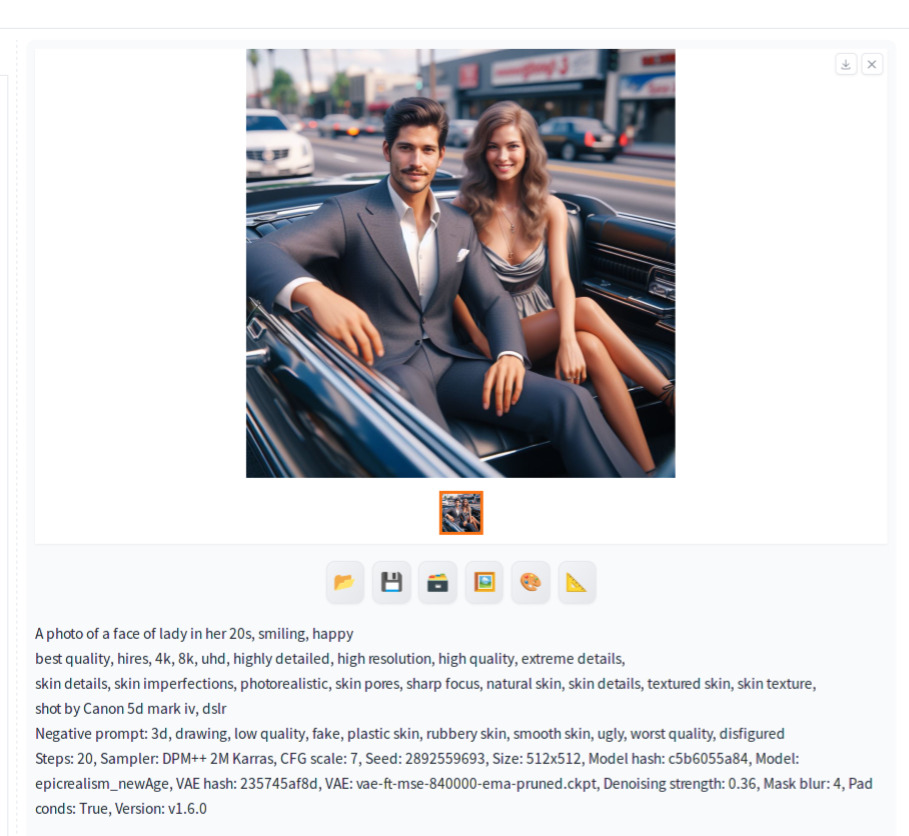
Next, let’s inpaint the man’s face in Automatic1111. If you haven’t done face inpainting before, we have in-depth step by step guide How to use Inpainting in Automatic1111 Part 1 : Small Area, so please have a look at the tutorial first. Just a quick reminder that for this step to work, you need to set Masked content to ‘original’ and Inpaint Area to ‘Only masked’. Keep Width and Height at 512. For this image, denoise strength was set to 0.36. If you hit Generate, an inpainted image with the more realistic face should be generated.
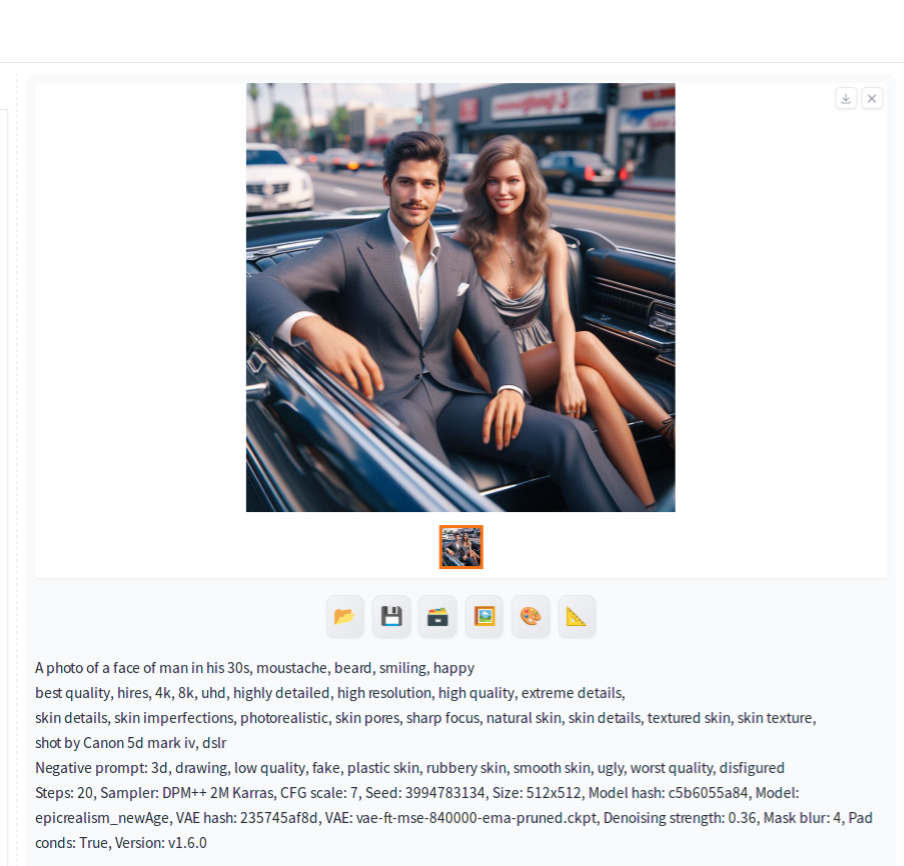
Repeat the same step for the women’s face with the prompt adjusted for her face.
Step 3. Img2img and upscale
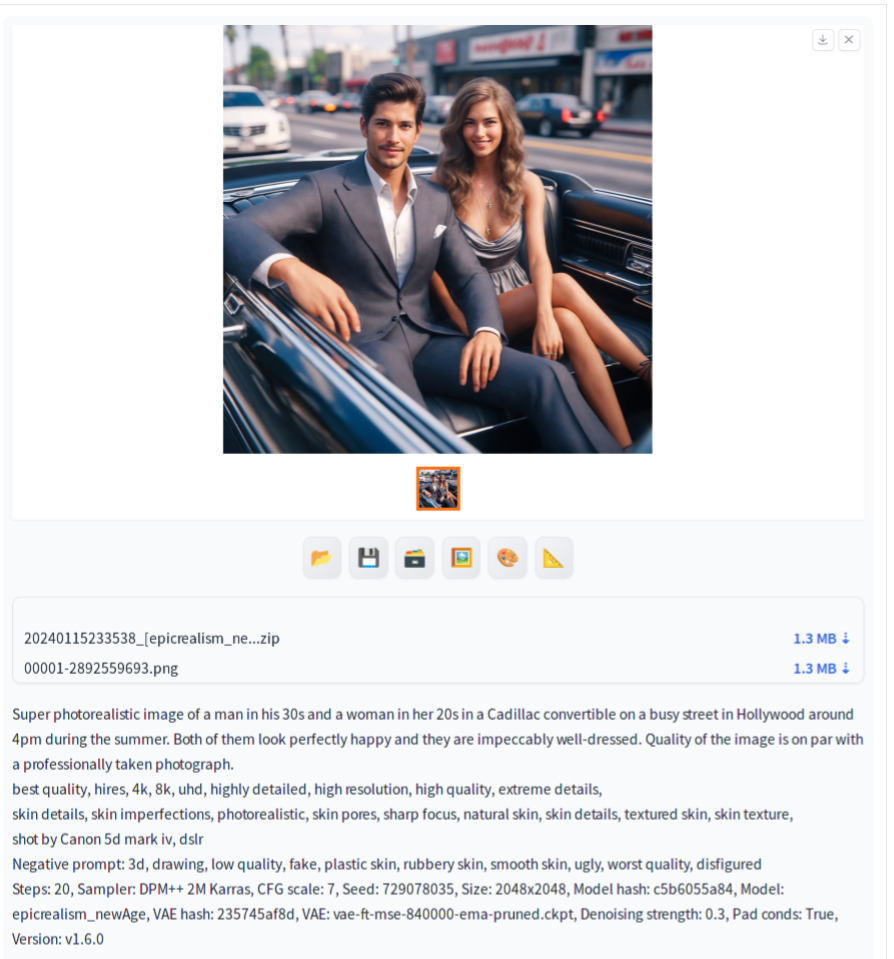
Our final step is to use img2img and upscale to 2048×2048 from 1024×1024. Denoising strengh was set to 0.3 for this tutorial, but feel free to adjust. Here is the result.
Here is the full resolution version.
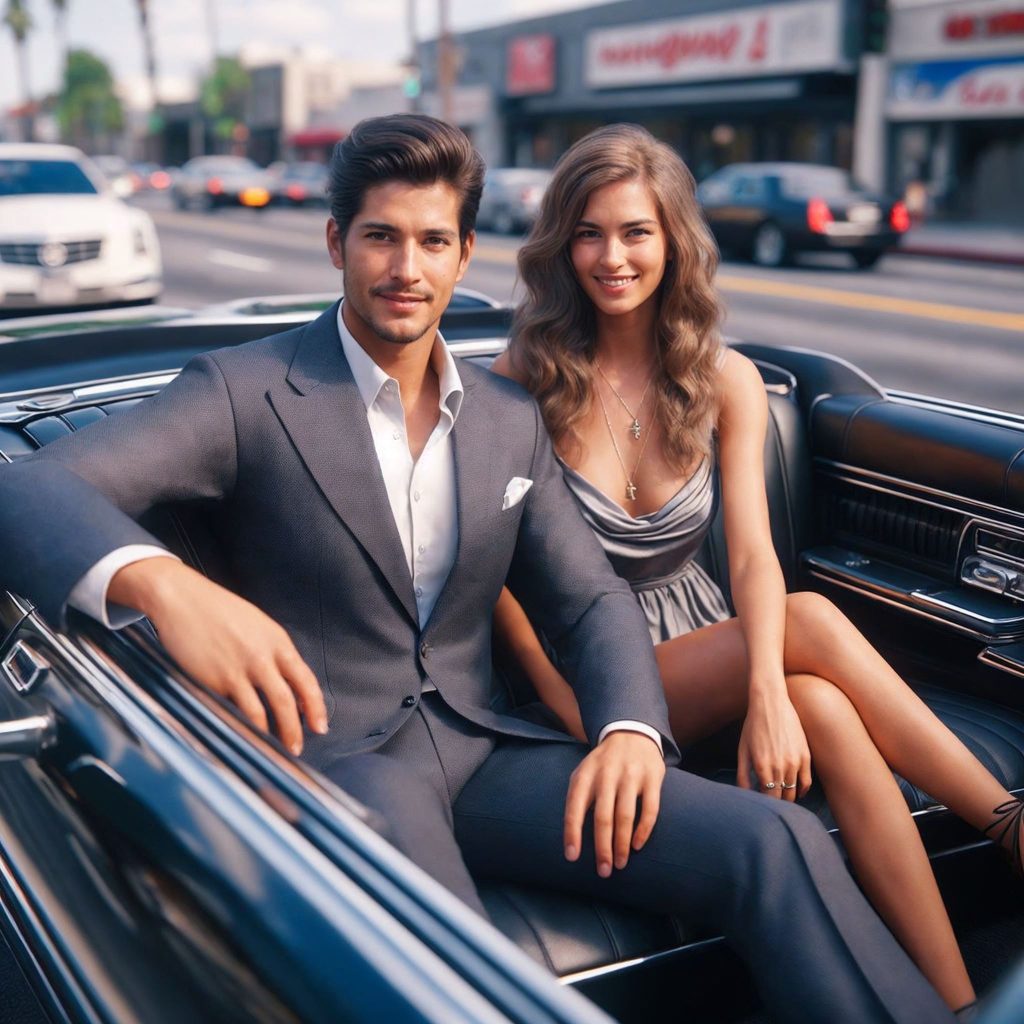
The enhanced images clearly exhibit more realistic facial features for both the man and woman compared to the originals from Bing Image Creator. By leveraging Bing Image Creator’s adeptness at interpreting prompts and Automatic1111’s ability to inpaint faces with high realism, you may be able to more efficiently produce photorealistic images that align with your vision.

