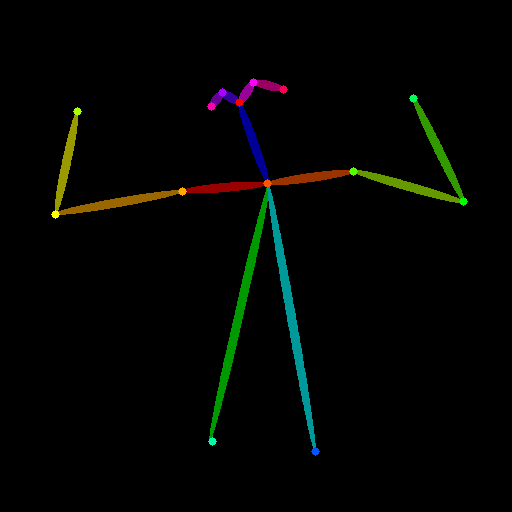
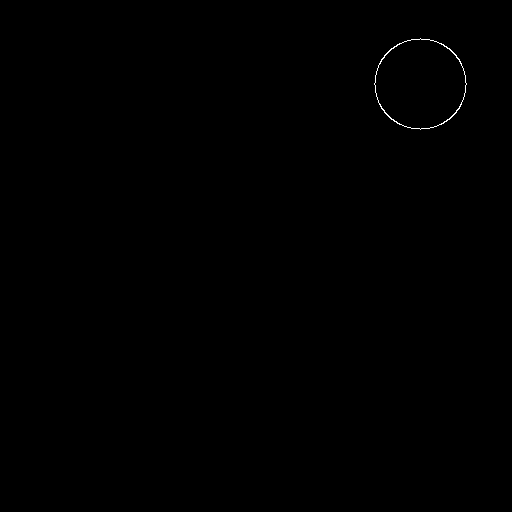
In this tutorial, we will be covering how to use more than one ControlNet as conditioning to generate an image. An example would be to use OpenPose to control the pose of a person and use Canny to control the shape of additional object in the image. This section builds upon the foundation established in Part 2 assuming that you are already familiar with how to use different preprocessors to generate different types of input images to control image generation. If you need a refresher on these steps, please revisit How to use ControlNet with Comfy UI – Part 2, Preprocessor. Shown below are the images that will be used as example Control inputs.
Concept
The basic idea is to put additional Apply ControlNet (Advanced) node between the existing Apply ControlNet (Advanced) node and KSampler. This is shown below:

The first Apply ControlNet (Advanced) is for OpenPose and the second Apply ControlNet (Advanced) is for Canny. Note that the outputs of the first Apply ControlNet (Advanced) are plugged into the second Apply ControlNet (Advanced) instead of KSampler.
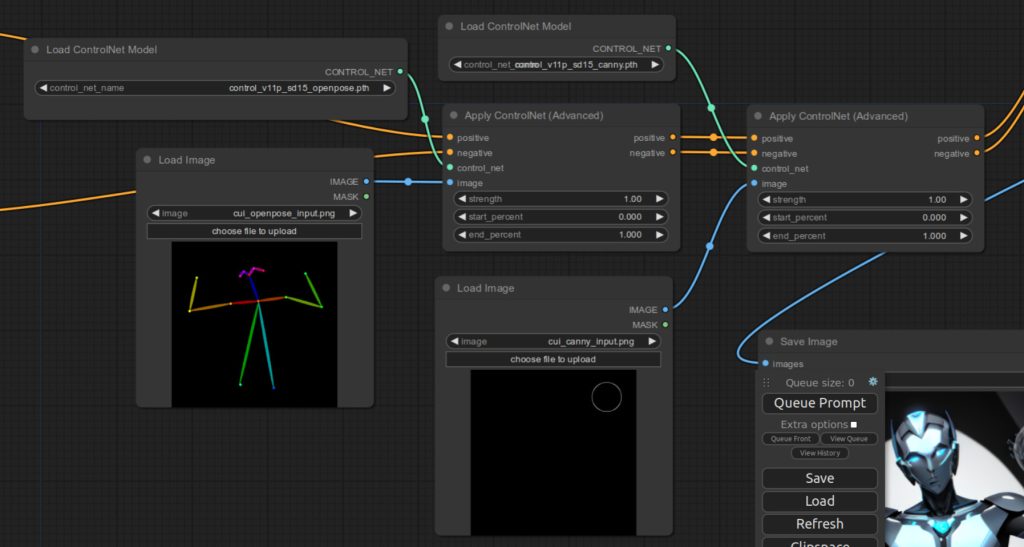
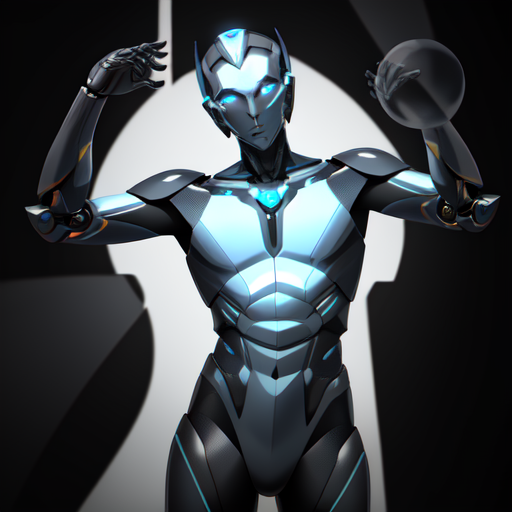
In addition, I also updated the positive prompt to say “mysterious plastic sphere in the air” to give more clue to the latent diffusion model.
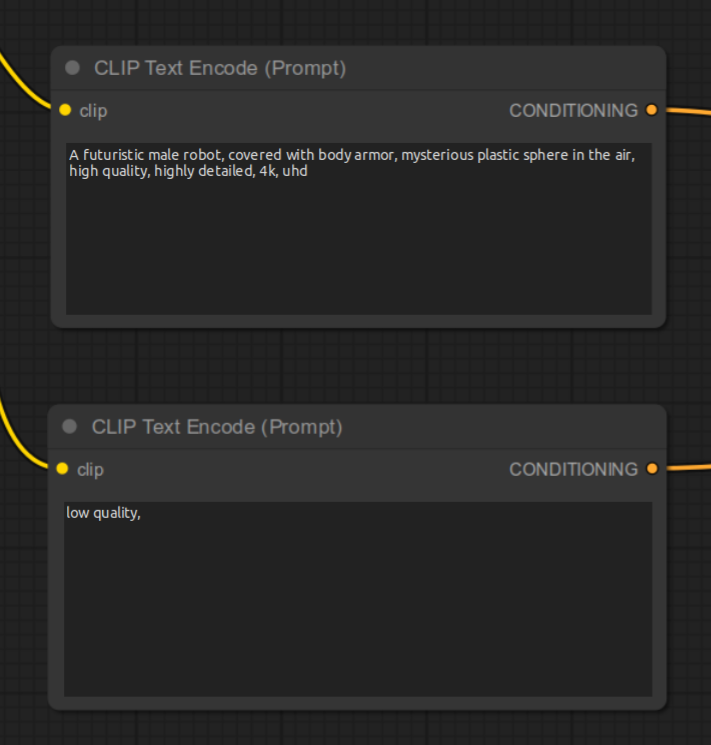
Here is the generated image that matches both ControlNet inputs.
References
[1] comfyanonymous. ControlNet and T2I-Adapter Examples. Retrieved from https://comfyanonymous.github.io/ComfyUI_examples/controlnet/.
