Welcome to Part 2 of our series on using ControlNet with ComfyUI. This section builds upon the foundation established in Part 1, assuming that you are already familiar with installing ComfyUI, generating images, and setting up ControlNet with a pre-created input image. If you need a refresher on these initial steps, please revisit How to Use ControlNet with ComfyUI – Part 1.
A key aspect not covered in the previous tutorial is the creation of input images for ControlNet. For instance, if you need to generate a depth map from an existing image to guide ControlNet, this process – known as preprocessing – was previously handled outside of ComfyUI’s workflow. This article will guide you through the steps to seamlessly integrate this preprocessing phase into your ComfyUI setup, thereby streamlining the entire image generation process.
Required software package
To incorporate preprocessing capabilities into ComfyUI, an additional software package, not included in the default installation, is required. For this tutorial, we’ll be using ComfyUI’s ControlNet Auxiliary Preprocessors. Please follow the installation instructions provided on their GitHub page.
After installation, verify that the files are correctly placed. If you installed ComfyUI in the ComfyUI-master directory, your directory structure should resemble the following:

Now start ComfyUI. You should see a line on console similar to below during start up:
Import times for custom nodes:
   1.2 seconds: <Your ComfyUI installation path here>/custom_nodes/comfyui_controlnet_aux
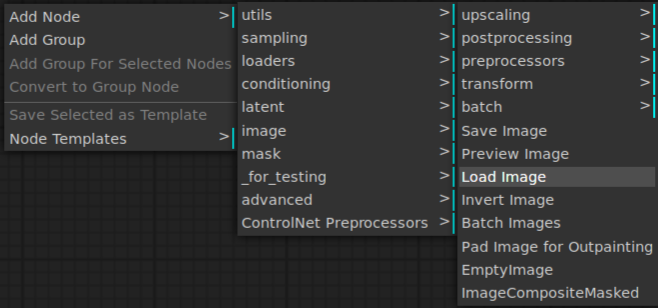
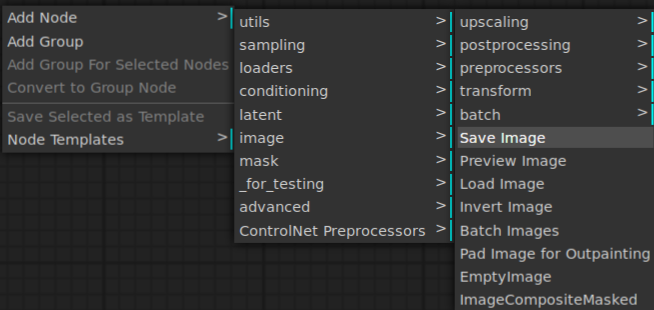
Once the server is up, open your browser and right-click on an empty area. From the menu, select ‘Add Node. You will now notice that the ControlNet Preprocessors option is available.
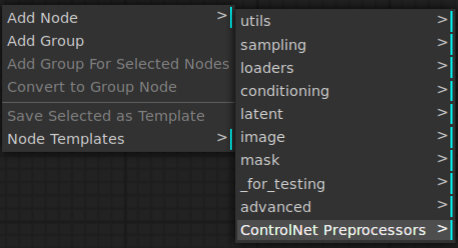
Clicking ControlNet Preprocessors should reveal more submenu items.
Saving the current workflow and clearing the workspace
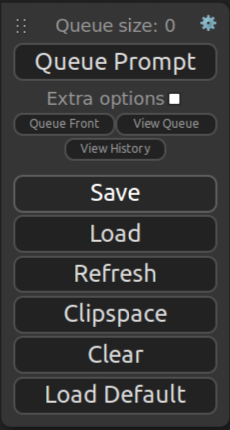
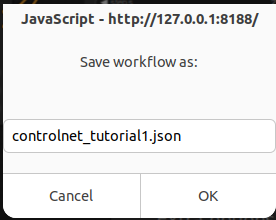
Before proceeding, we want to clear the workspace so that we can build a new workflow from scratch. Click Save in the main menu.
A dialog should show up.

Rename the file to something unique.
Navigate to the directory where your web browser saves downloaded files. Ensure that the file you saved is present in this directory, as its absence will prevent you from restoring the workflow later. Below, I demonstrate using the Linux ls command, but you can simply use your file manager to verify the file’s existence.
Downloads $ ls controlnet_tutorial1.json
controlnet_tutorial1.json
Now press Clear in the main menu.
This should remove all existing nodes from the UI. You should only see the main menu now.
Preprocessing to create an OpenPose input image
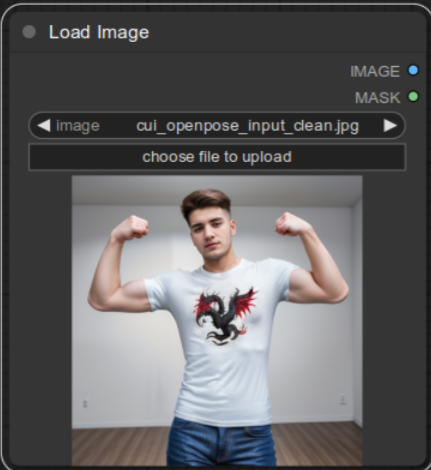
In this section, we will be creating an OpenPose input image. Here is the image that I created using Stable Diffusion but you can use whatever the file that you want to use as long as it contains a photo of a person.

Right-click an open area and select Add Node | image | Load Image.
Select the source image by pressing the choose file to upload button.
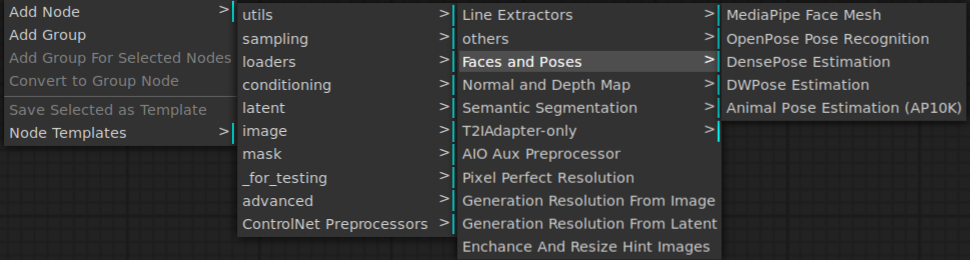
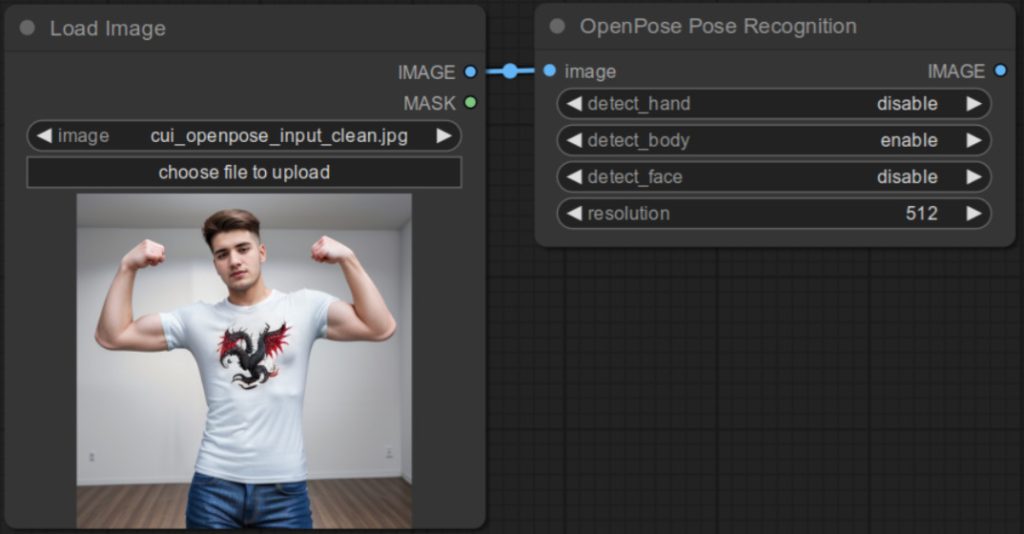
Now select Add Node | ControlNet Preprocessors | Faces and Poses | OpenPose PoseRecognition. If you do not see ControlNet Preprocessors, then you have not installed ComfyUI’s ControlNet Auxiliary Preprocessors. Please go back to the previous section to make sure that you install the package correctly.
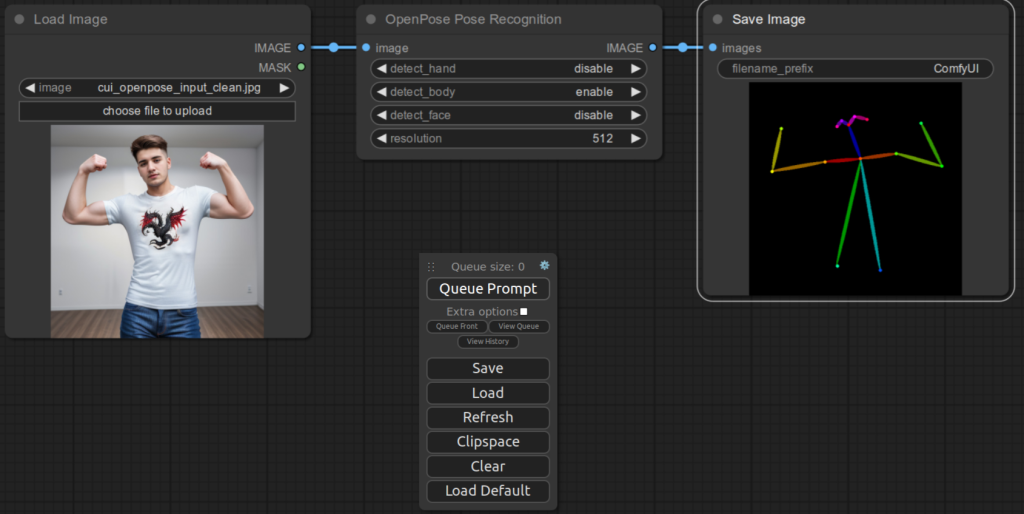
Now OpenPose Pose Recognition node is added. Clicking a field will show you a drop down list from which you can pick a new value (e.g. enable/disable below). You can also click arrows on either side to change the value.
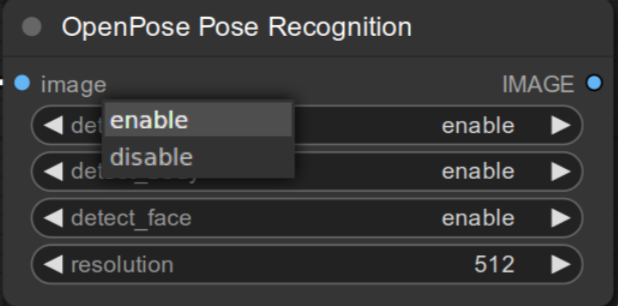
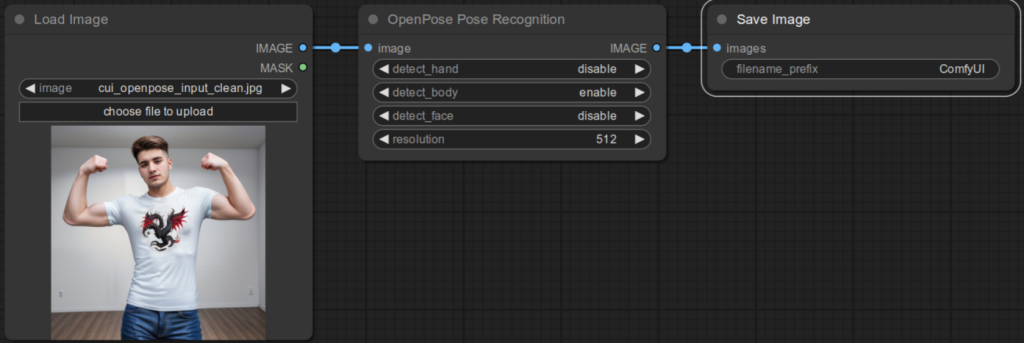
For this tutorial, only enable detect_body, and use 512 as resolution. Connect IMAGE output of Load Image to image input of this node.
The last node that we need to add is the Save Image node. Select Add Node | image | Save Image menu item.
You can keep the default.
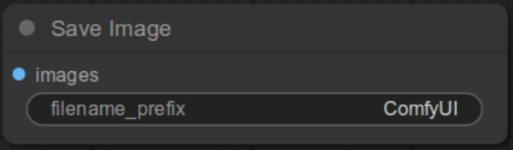
Now connect the IMAGE output of OpenPose Pose Recognition to images input of Save Image node.
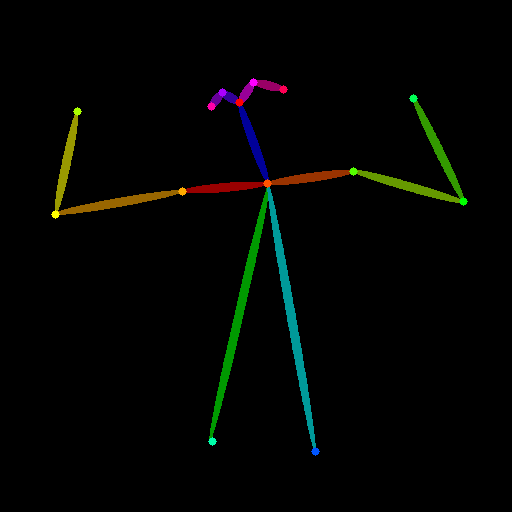
Click QueuePrompt button on the main menu. Wait a little and you will see that the pose estimate image is generated. This image should be auto-saved under output below your ComfyUI installation directory.
Here is the file:
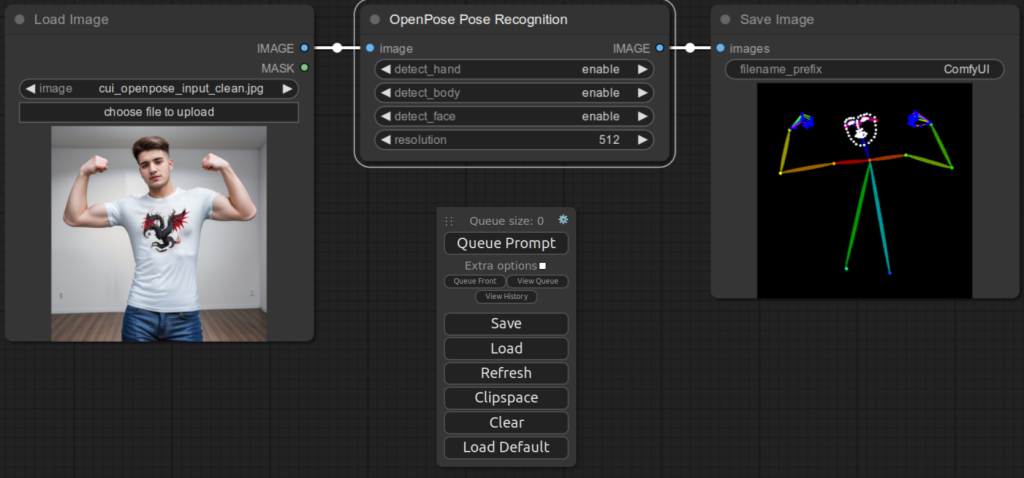
If you enable face and hand detection, you would get this pose image:
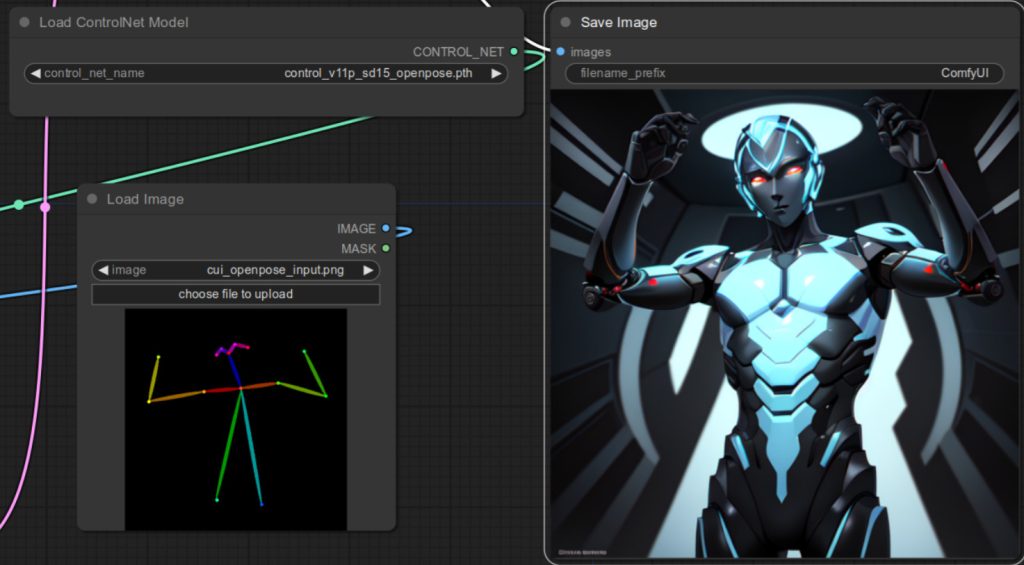
At this point, you can use this file as an input to ControlNet using the steps described in How to Use ControlNet with ComfyUI – Part 1. Make sure that you save your workflow by pressing Save in the main menu if you want to use it again. Here is an example of the final image using the OpenPose ControlNet model.