Textual Inversion offers a way to modify Stable Diffusion models with custom data in Automatic1111. You can adjust image generation by specifying the embedding file name in either the positive or negative prompt, or both. For an in-depth understanding of Textual Inversion, please refer to our comprehensive guide How to use Textual Inversion with ComfyUI.
Downloading Embeddings
- A wide range of embeddings is available on model-sharing websites. Automatic1111 supports various internal formats [1].
- When you at a model-sharing website, check which Stable Diffusion model the embedding was trained with; this is important to reproduce the effect the embedding was trained for e.g. a custom object or a specific style.
- If the embedding file is not in the safetensors format, ensure the embedding file is safe before loading it into Automatic1111, or before open it via a Python program.
- After downloading the embedding, move the embedding file to
stable-diffusion-webui/embeddings.
Using the Embeddings
Loading the Main Model:
- If you are trying to generate an image with a custom object/person or reproduce a specific style the embedding was trained for, use the same Stable Diffusion model the embedding was trained with. If unknown, start with
v1-5-pruned-emaonly.safetensors. For negative embedding, you can try the model that you want to use for the image. - If you are a software developer, you can inspect the embedding using
torch.loadorsafetensors.torch.load_filein Python. As mentioned, take appropriate precaution if the file is not in safetensors format before loading the file. For some model, it contains the checkpoint name for the key “sd_checkpoint_name” . But this value may be None or the key may not even exist.
Setting Generation Parameters
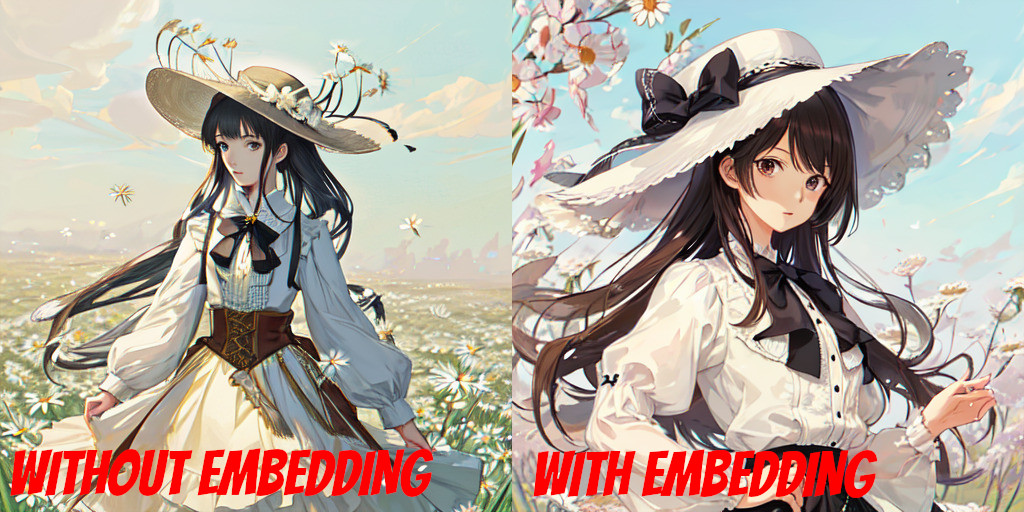
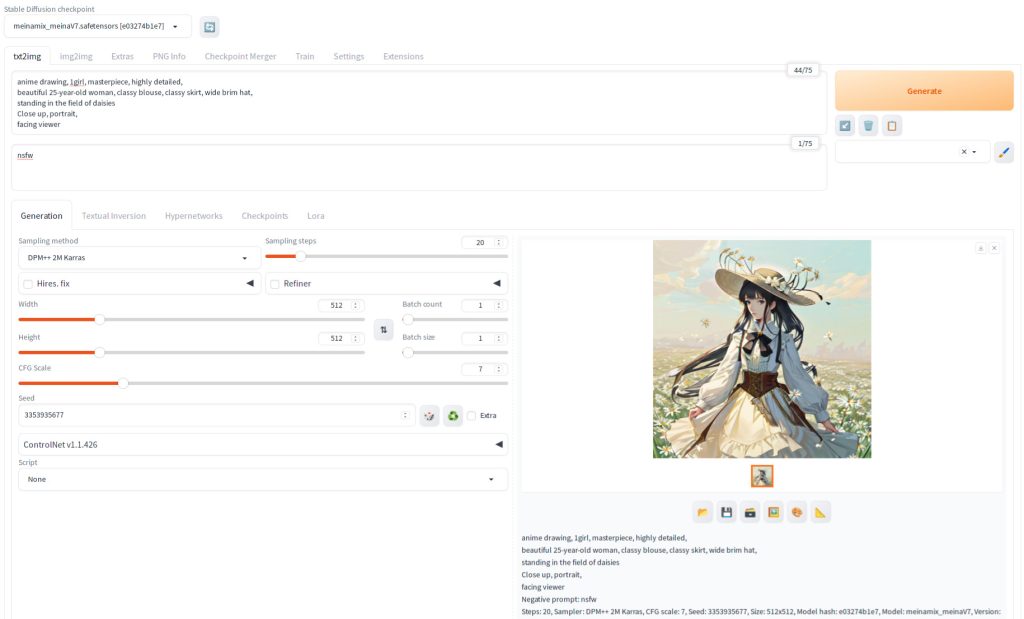
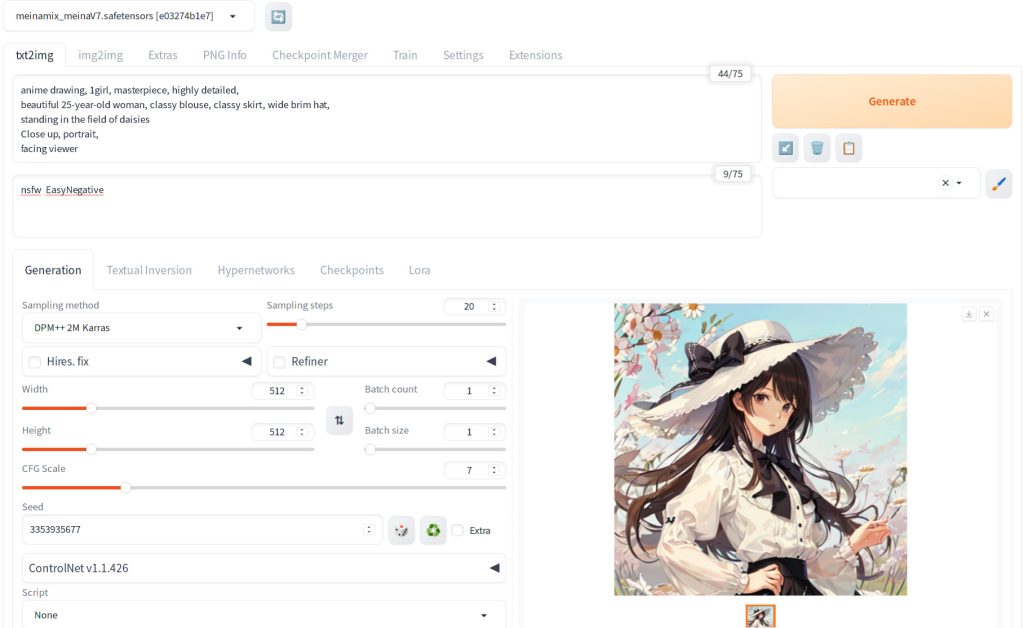
In this tutorial, we’ll be utilizing ‘EasyNegative.safetensors.’ As this is a negative embedding, we won’t focus on identifying the specific model it was trained with. Instead, we’ll use ‘meinamix_meinaV7’ for our purposes. To set a baseline, let’s start by generating an image without employing EasyNegative. The parameters we’ll use are as follows:
anime drawing, 1girl, masterpiece, highly detailed,
beautiful 25-year-old woman, classy blouse, classy skirt, wide brim hat,
standing in the field of daisies
Close up, portrait,
facing viewer
Negative prompt: nsfw
Steps: 20, Sampler: DPM++ 2M Karras, CFG scale: 7, Seed: 3353935677, Size: 512x512, Model hash: e03274b1e7, Model: meinamix_meinaV7,
If you hit Generate the following image will be generated:

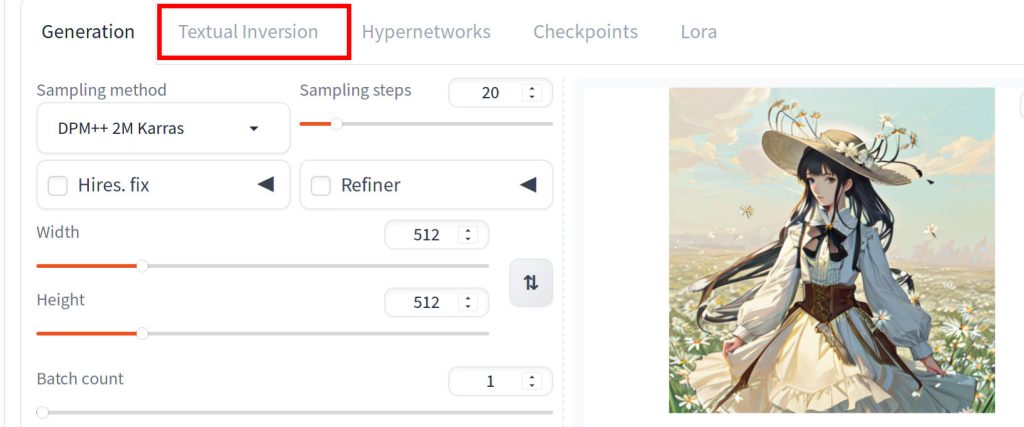
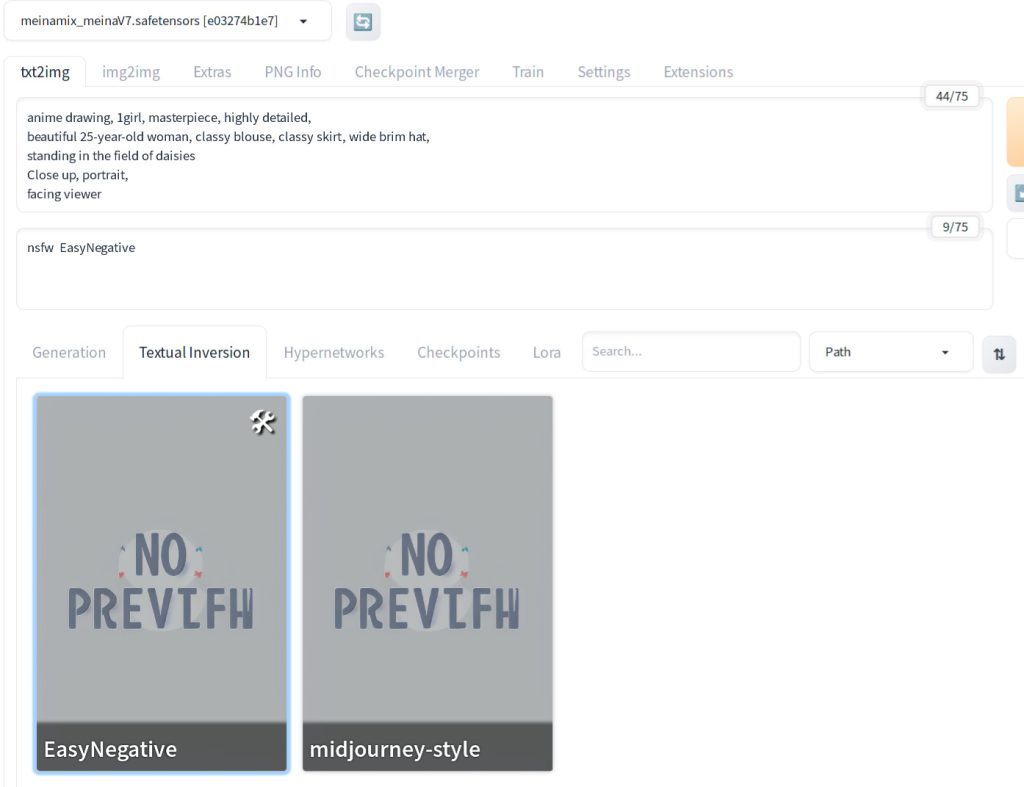
As you can see, the face does not look right. Now, let’s add the embedding to compare. Press Textual Inversion tab while you are on the txt2img tab.
You should see that the bottom part of the page is now refreshed with model cards. You should see a model card for EasyNegative if you have placed the model file under stable-diffusion-webui/embeddings directory. Now click the negative prompt text area and click EasyNegative model card.
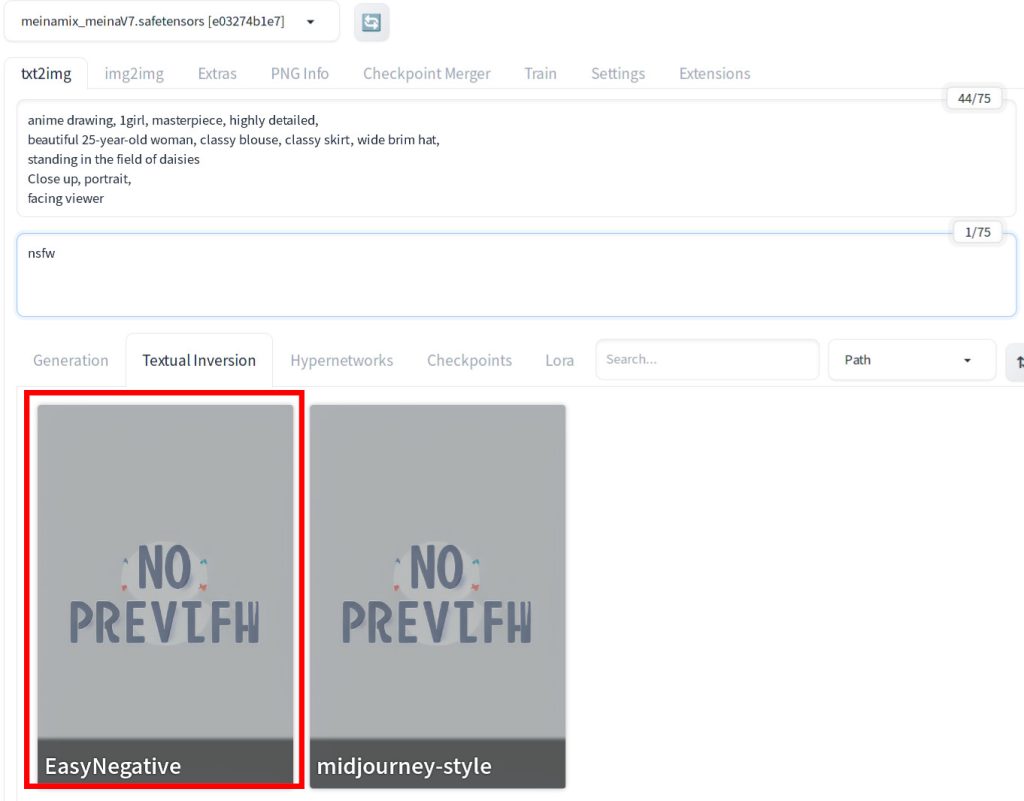
You will see the word EasyNegative is now in the negative prompt.
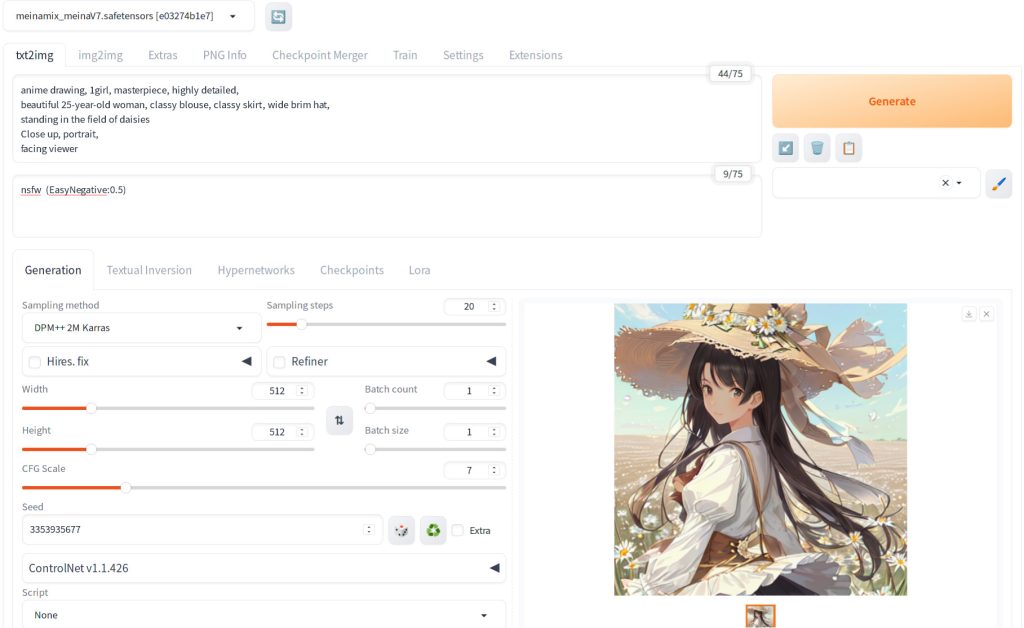
Hit generate and you will see the image below.
Here is the actual image. Note that you may still want to touch up including hands, but that is outside the scope of this tutorial.

You can adjust the strength of the embedding by enclosing in parantheses and put the strength (e.g. (EasyNegative:0.5) as shown below).
Congratulations! You’re now ready to use custom embeddings, opening up new possibilities for enhancing your artistic creations!
References
[1] AUTOMATIC1111. stable-diffusion-webui. Retrieved from https://github.com/AUTOMATIC1111/stable-diffusion-webui/blob/master/modules/textual_inversion/textual_inversion.py#L283