What is LoRA?
LoRA, is one of the popular ways to customize Stable Diffusion models. A LoRA model is a supplementary model that works with a regular Stable Diffusion model to modify the model’s behavior with specific custom data so that the combination of the full model and the LoRA can produce images that mirror the unique characteristics of the data the LoRA model was trained on. Numerous LoRA models are available on model-sharing sites. Typically, LoRA models are much smaller than standard Stable Diffusion models as they primarily consist of modifications needed to adapt the main model to the custom data. Using LoRA in Automatic1111 is straightforward, and the following sections will guide you through the installation and setup process.
Overview of steps
- Download a LoRA model.
- Install it in the Automatic1111 installation directory.
- Configure Automatic1111 to use the LoRA file.
- Include the trigger word in your prompt.
- Generate images.
1. Download a LoRA model
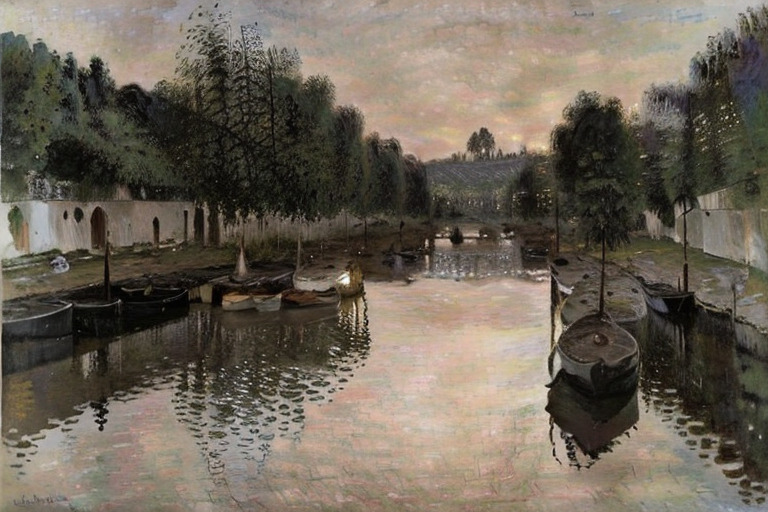
Our first step is to download a LoRA model from a model-sharing site. For this tutorial, we’ll use ‘lora-monet-sd1.5’, found on Hugging Face. You can view the model card at https://huggingface.co/J-YOON/lora-monet-sd1.5. This model is designed to generate images reminiscent of Claude Monet’s Impressionist painting style. On the model card page, take note of the trigger word, which is ‘msl monet‘ as specified by the model creator. To download the model, visit https://huggingface.co/J-YOON/lora-monet-sd1.5/tree/main, select ‘pytorch_lora_weights.safetensors’, and download it to your computer.
2. Install the LoRA model in the Automatic1111 installation directory
After downloading the model, copy the model to: <Your Stable Diffusion Installation directory such as stable-diffusion-webui>/models/Lora
then rename the file to msl_monet.safetensors.
3. Configure Automatic1111 to use the LoRA file
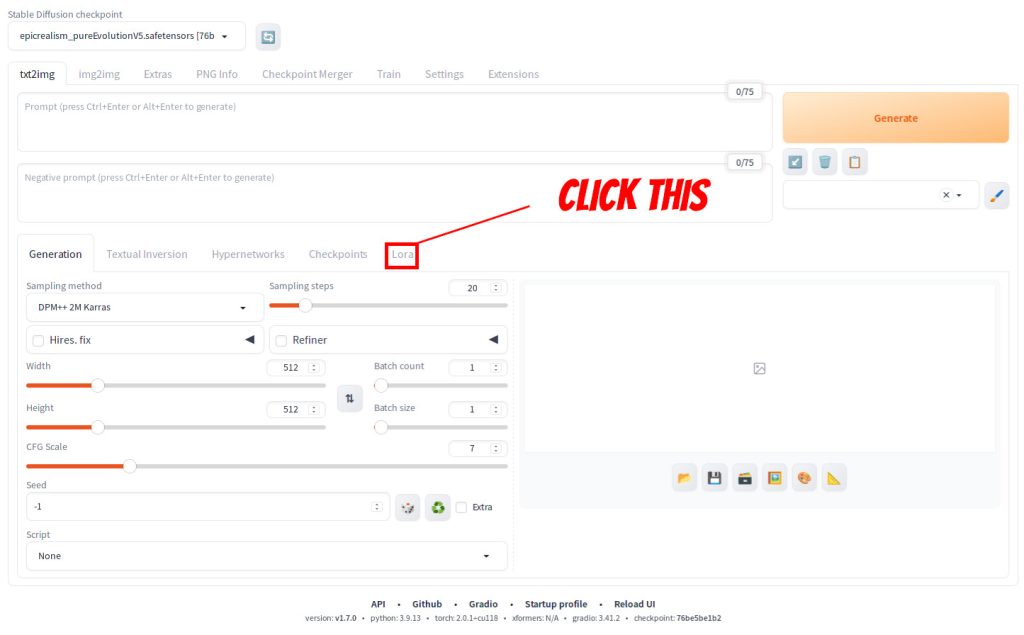
Start Automatic1111 and click Lora on txt2img tab as shown below.
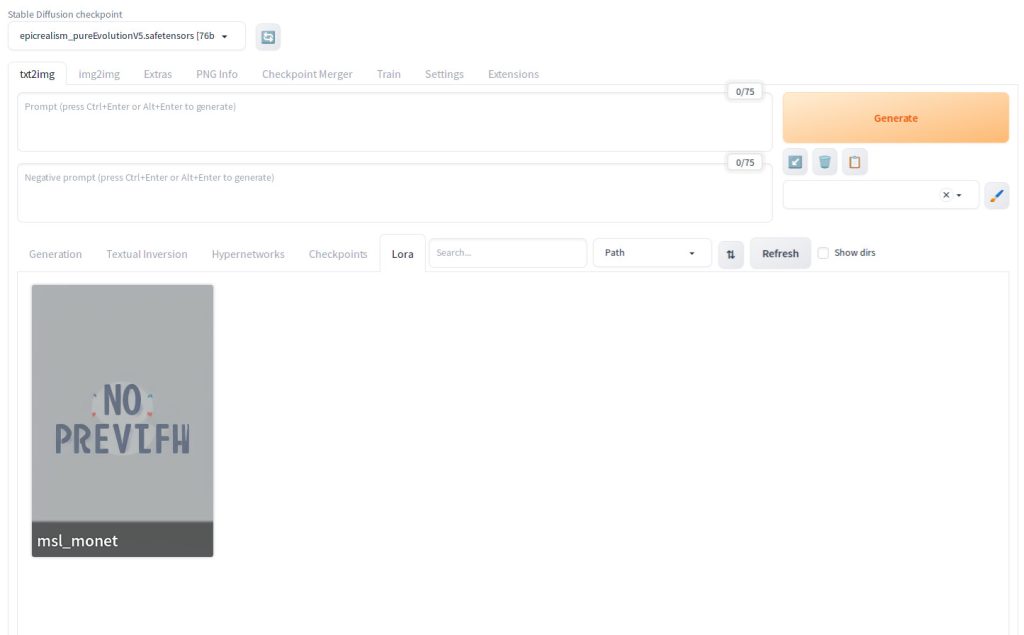
You should see the below page with the model card for msl_monet. If you don’t see the card, click the Refresh button.
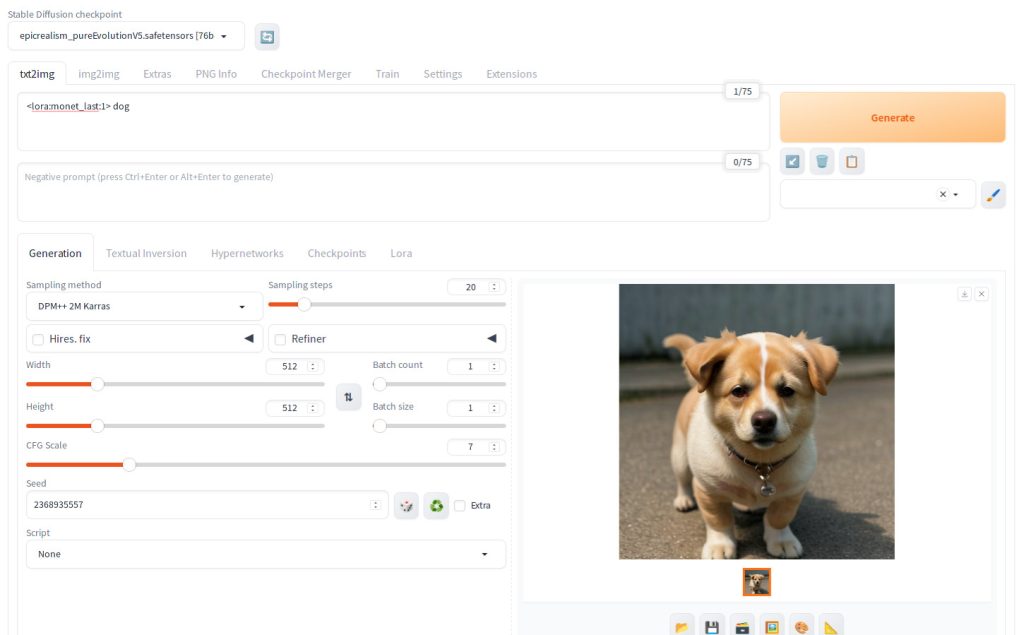
Now click the model card msl_monet. You should see that <lora:monet_last:1> is now entered in positive prompt. Note that this is not the same as the file name msl_monet that you used, but it’s OK.

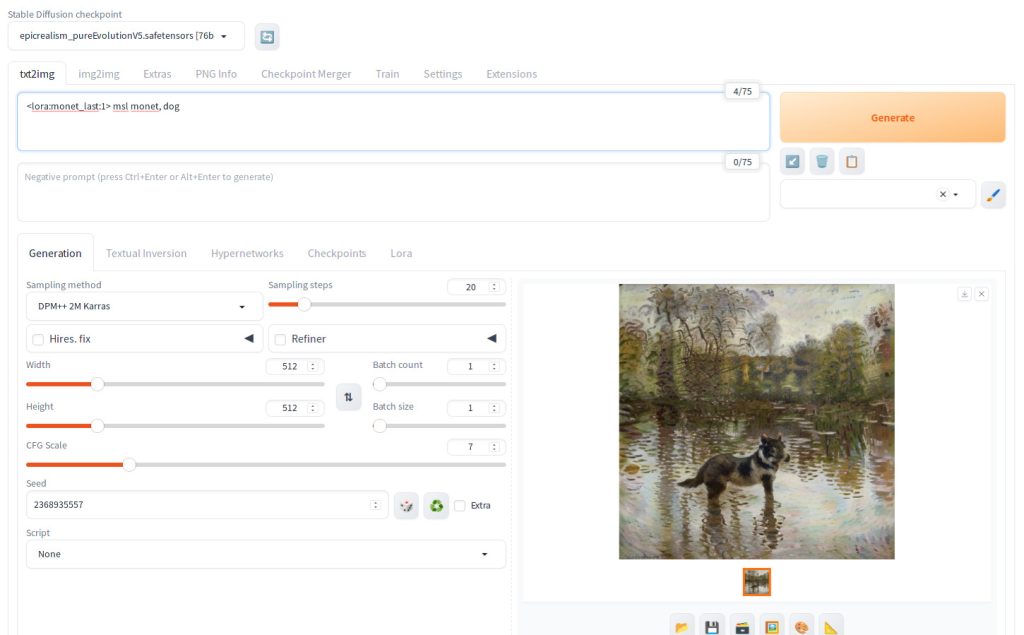
Return to the ‘txt2img’ tab and append ‘dog’ after <lora:monet_last:1>. Also, input ‘2368935557’ in the Seed field and adjust the other parameters as indicated below. If you are using the same full model (epicrealism_pureEvolutionv5), you should be able to reproduce this result. Once you hit ‘Generate’, you should see an image of a dog. However, you might find that the result isn’t quite what you were expecting. Keep reading to find out more.
4. Include the trigger word in your prompt
We wanted to generate an image of the dog in Monet’s style. What happened? The reason is that we skipped trigger words. Trigger words are the key to use a LoRA model. As we mentioned at the beginning of this tutorial, the trigger words for this model is “msl monet”. So let’s add that to the prompt. Prompt should have now <lora:monet_last:1> msl monet, dog.
5. Generate images
Let’s generate again without changing the seed just to make sure that the only thing we are changing is the prompt.
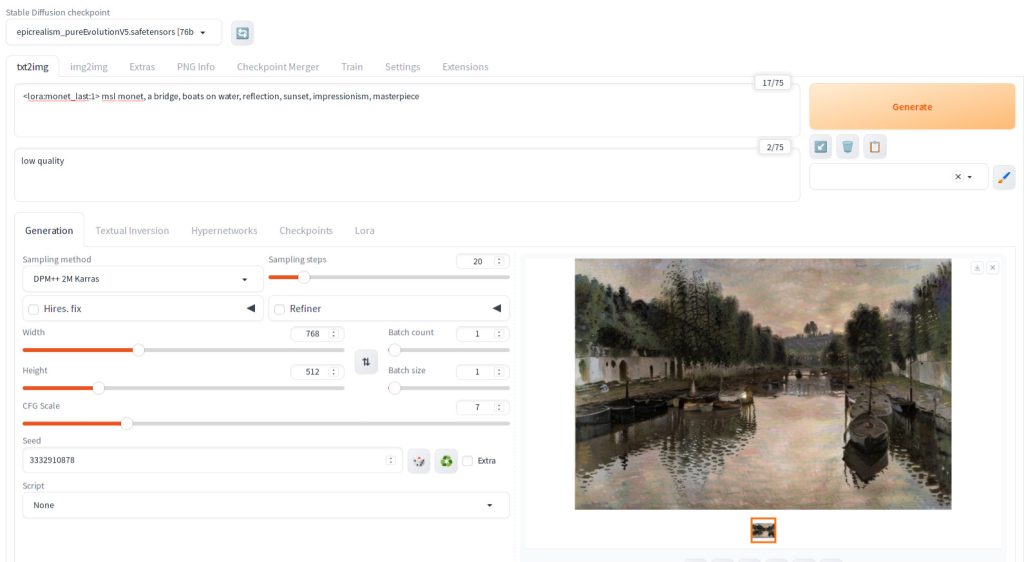
Congratulations! It worked this time. Here is another image with this style with different parameters.
LoRA is a wonderful technology offering the flexibility to modify the style of generated images in countless ways, thanks to a wide range of freely available custom LoRA models. We’re excited for you to explore these models and leverage them to bring your unique artistic vision to life!