Overview
Extensions are a game-changing feature for Automatic1111, offering the capability to introduce functionalities not originally included in the main program. Imagine equipping a car with wings and a jet engine to transform it into a flying vehicle – that’s the level of enhancement we’re talking about. Installing an extension opens up a new realm of artistic possibilities, empowering your creative expression in exciting ways. This guide will walk you through the installation process of an extension, step by step. Ready to elevate your experience? Let’s get started!
Steps
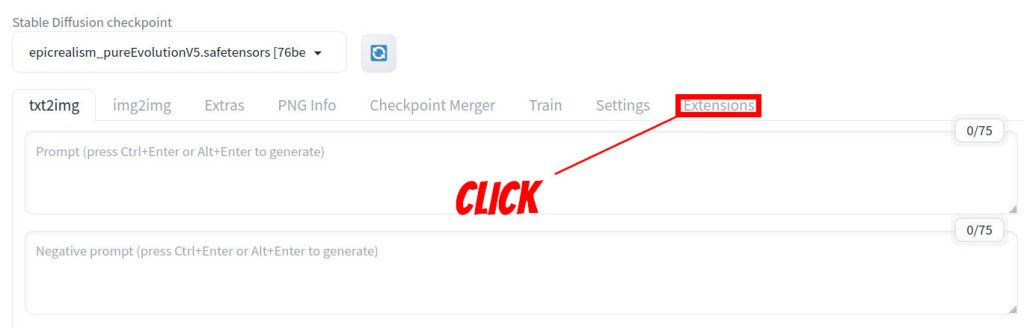
This tutorial walks you through an example of installing the popular Ultimate SD Upscale extension. The process is the same for other extensions. First click the Extensions tab while you are on the txt2img tab.
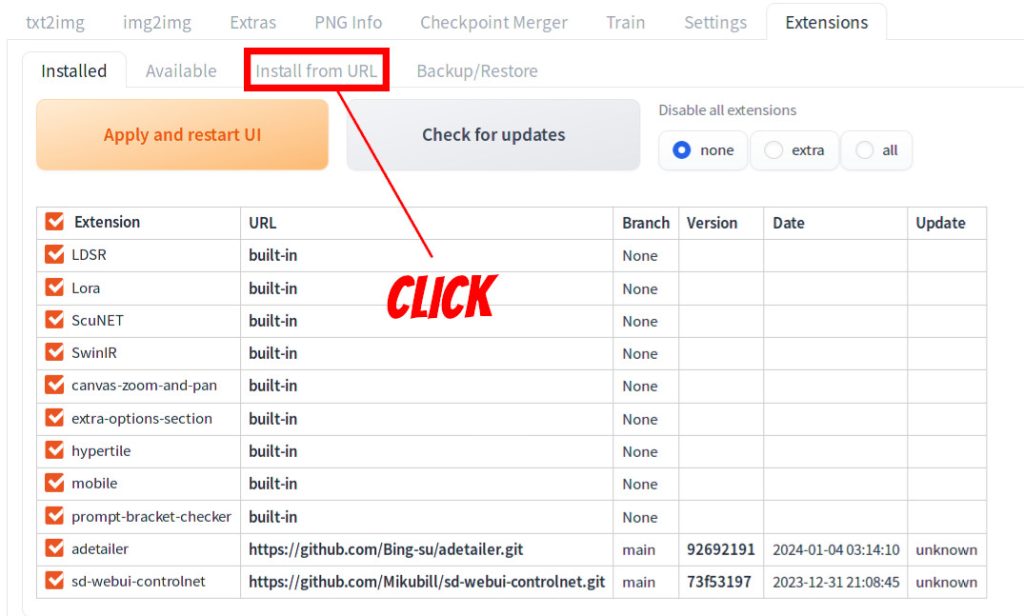
Once you are on the Extensions tab. Check the list of installed extensions. Verify the list to make sure that you have not installed the extension in the past. Then click the Install From URL tab.
The Install from URL tab opens. In the URL for extension's git repository field, enter the URL of the Git repository where the extension is located. For example if the Github URL is https://github.com/Coyote-A/ultimate-upscale-for-automatic1111, then this value.
Let’s enter that:
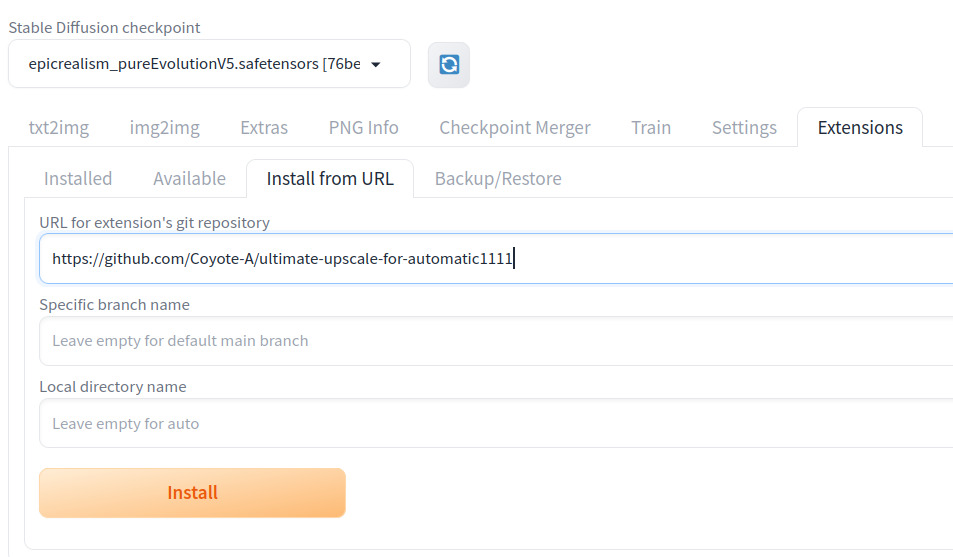
Now press Install. You should see the installation completion message is displayed at the bottom.

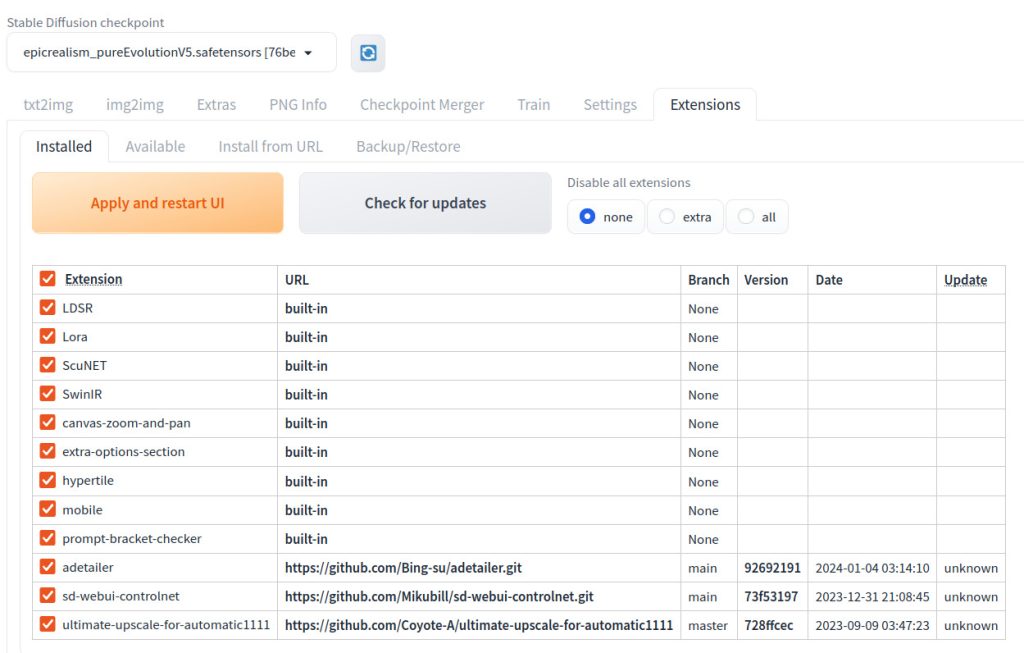
Now go to the Installed tab again. You should see the extension you added is now listed. Click Apply and restart UI. Congratulations, you are done!