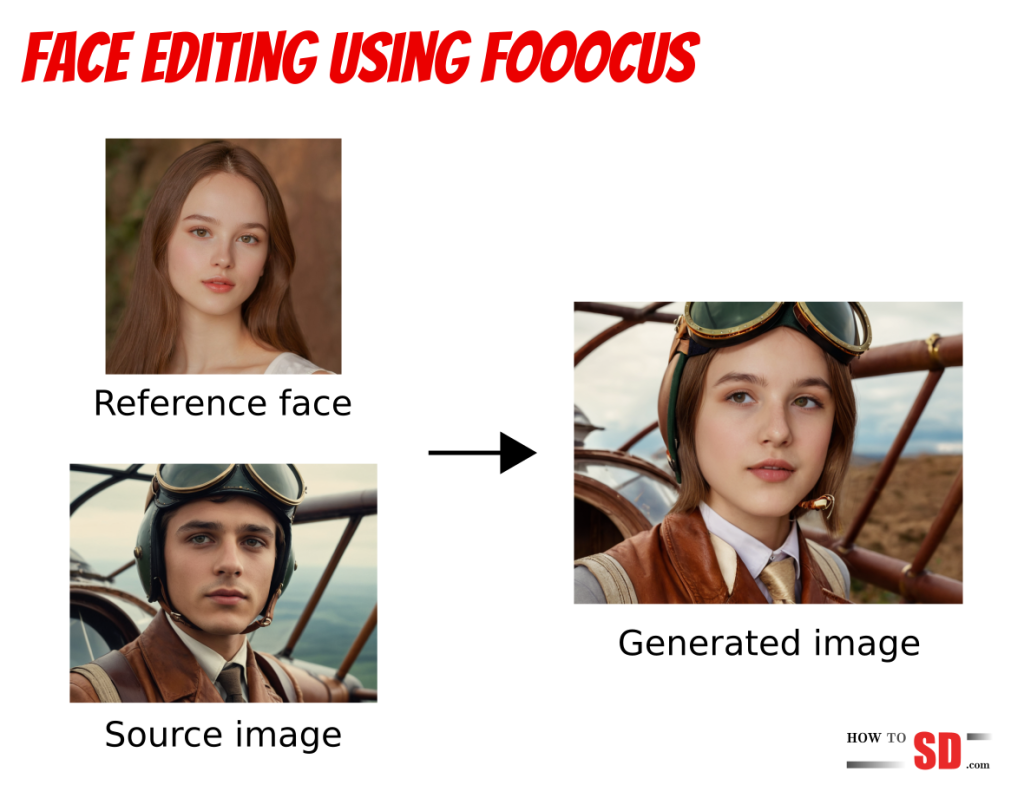
If you’ve generated an image but aren’t satisfied with the face, Fooocus offers a solution. This tool allows you to regenerate the image by merging your original with a reference face from another picture. It’s important to note that while the new face will bear a resemblance to the reference, it won’t be an exact copy. Therefore, if you’re specifically looking for a precise face swap, this feature might not meet your needs. Additionally, Fooocus regenerates the entire image, not just the face, resulting in changes to other parts of the picture as well. As a result, you may need to do some extra editing, like extracting the altered face and integrating it back into your original image using photo editing software. However, if your goal is to create a new image that’s inspired by a reference face, with some variations from the original, Fooocus can be a highly effective tool for your image editing projects. Let’s explore how it works.
Steps
This tutorial builds on our previous tutorial How to use a reference face image to control face generation in Fooocus, so you might want to check it out first if you haven’t.
Step 1. Reference images preparation
We need two input images:
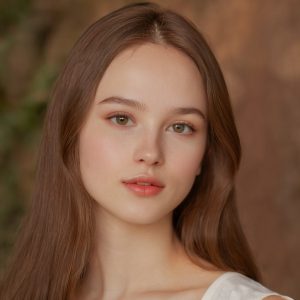
- Face reference photo
- Source photo to replace the face
For the face reference image, we will be using a below image, which is the same face as our previous tutorial:
If you’re planning to use your own image as a reference image for the face, I recommend adhering to the following guidelines:
- Opt for a square image with a resolution of 1024×1024 pixels.
- Ensure the photo is a headshot. This means it should predominantly feature the reference face, focusing on capturing facial features clearly.
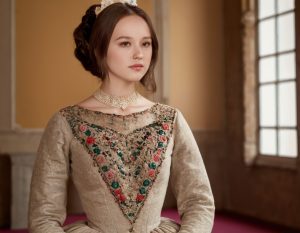
For the source photo, we will be using the below photo:
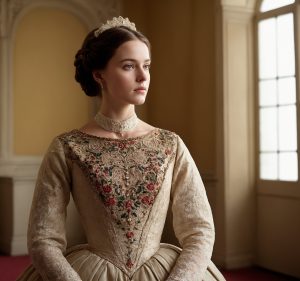
Unlike the face reference photo, you do not need to use a square image so you can use the already generated image as is.
Step 2. Image generation
Once you have input images, do the following:
- Leave the prompt field blank
- Check the
Input Imagecheckbox - Check the
Advancedcheckbox below the text prompt (in below screenshot, it is not checked to show all images, but this is needed to show the Style tab) - Click the
Image Prompttab - For the first slot (on the left below),
- Drag the face image into the slot using a file viewer (e.g. Windows Explorer or Mac Finder)
- For
Stop At, set to 0.9 if not set already - For
Weight, set to 1 - Set to FaceSwap
- For the second slot (in the middle below),
- Drag the source image into the slot using a file viewer
- For
Stop At, set to 0.8 - For
Weight, set to 1 - Set to PyraCanny
- For the third slot (on the right below),
- Drag the source image into the slot using a file viewer
- For
Stop At, set to 0.9 - For
Weight, set to 1 - Set to ImagePrompt
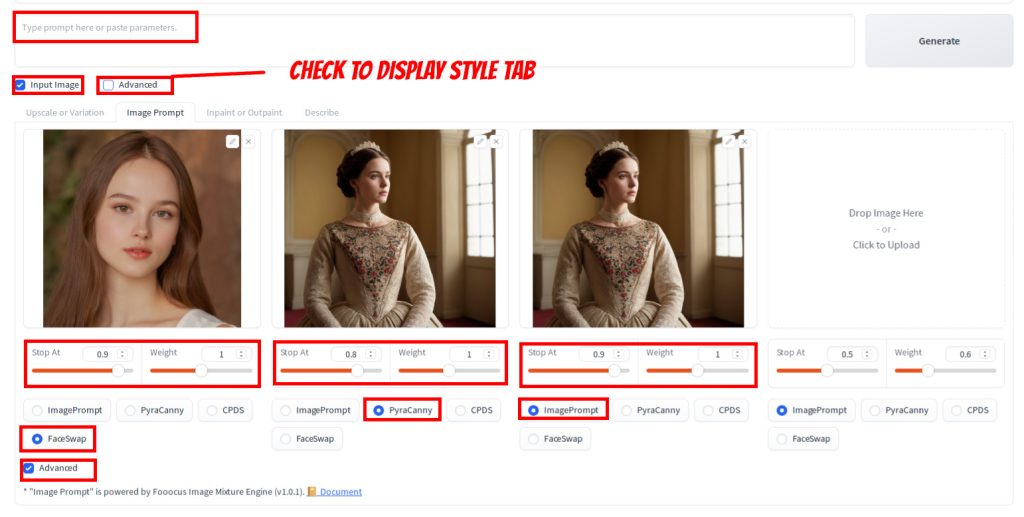
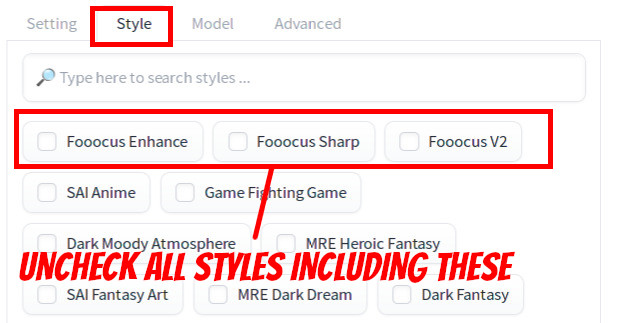
Now take a look at the right side of the screen. Go to the Styles tab, and uncheck all styles.
Now press Generate. Here is one of the generated images.
As you can see, the regenerated face bears a resemblance to the one in the source image, and the attire and background largely align with the original as well. It’s important to note that the Stop At and Weight parameters can be adjusted for finer control over the image generation. Additionally, consider experimenting with CPDS as an alternative to PyraCanny. To ensure consistent comparison during these experiments, maintain the same seed by deselecting the ‘Random‘ option in the Settings. This ensures that the only variable affecting your results is the image input control method that you picked.
Note that it’s very likely that the generated image requires further editing. Below image is a version that was edited using Inpainting to address the issue around the eye area.

References
[1] lllyasviel. Fooocus 2.1.0 Image Prompts (Midjourney Image Prompts) #557. Retrieved from https://github.com/lllyasviel/Fooocus/discussions/557.