Installation
InvokeAI offers a slick web user interface to generate images using Stable Diffusion and offers various functionalities. You can install from https://github.com/invoke-ai/InvokeAI. The page has detailed instructions that you can follow.
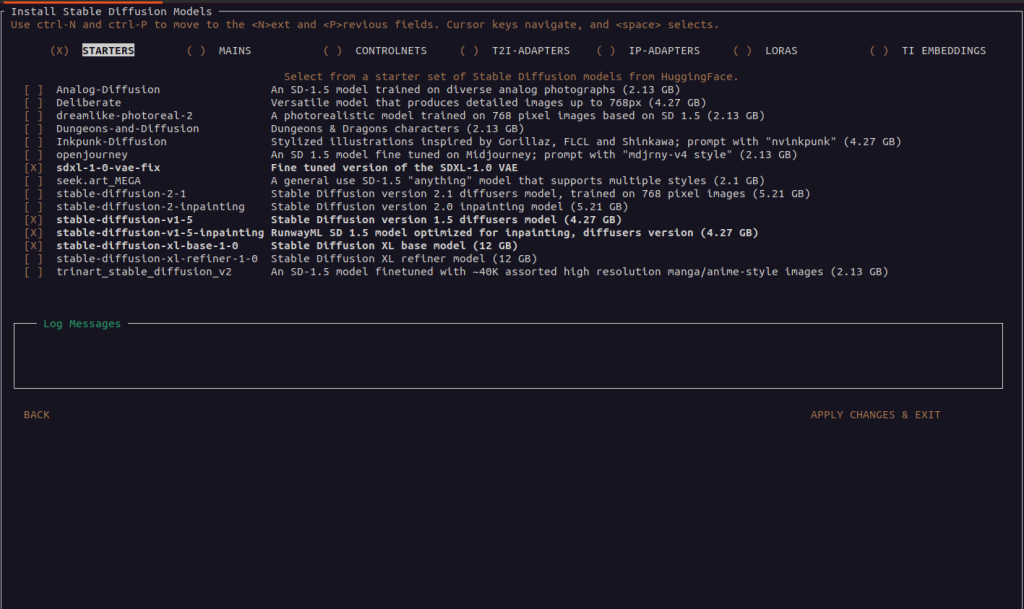
One nice thing about Invoke AI’s installation process is that it offers you an option to download some models during the installation. Therefore you do not have to worry about downloading models separately and put them in the right location, which some beginners may find a little daunting.
Basic Usage
Once you follow the instructions to install all required software and models, type invokeai-web. Note that you need to have activated InvokeAI virtualenv if you haven’t done so. You should see console output similar to below. It will start the server and show you the URL to access. Now open up the browser and access the URL.
(InvokeAI) invokeai $ invokeai-web
... (debug/info messages are omitted here for clarity)
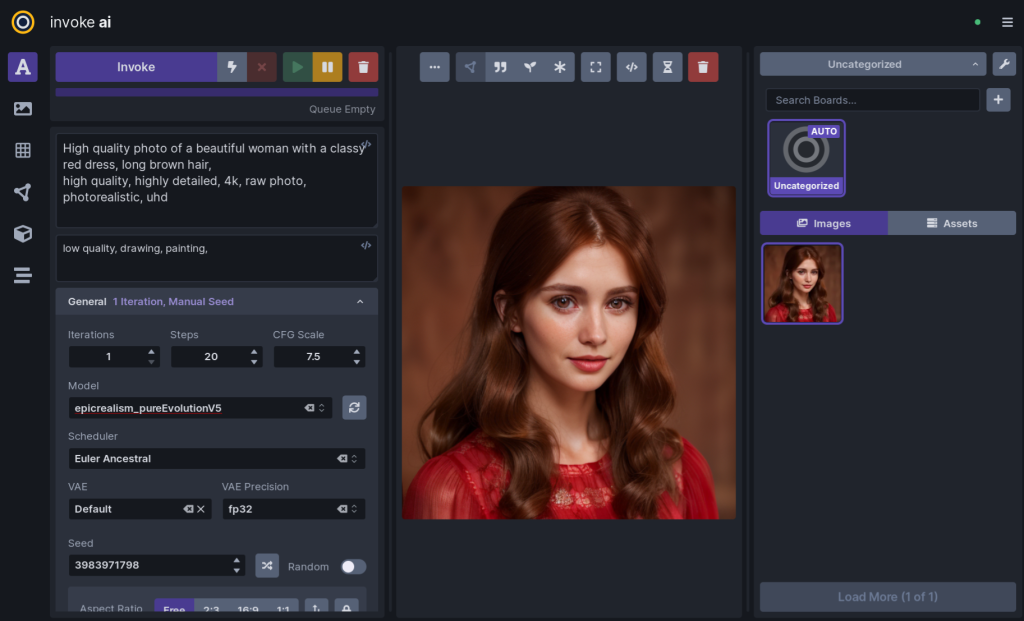
[2023-12-13 16:49:24,873]::[uvicorn.error]::INFO --> Uvicorn running on http://127.0.0.1:9090 (Press CTRL+C to quit)Once you access the URL, you will see the UI similar to below.
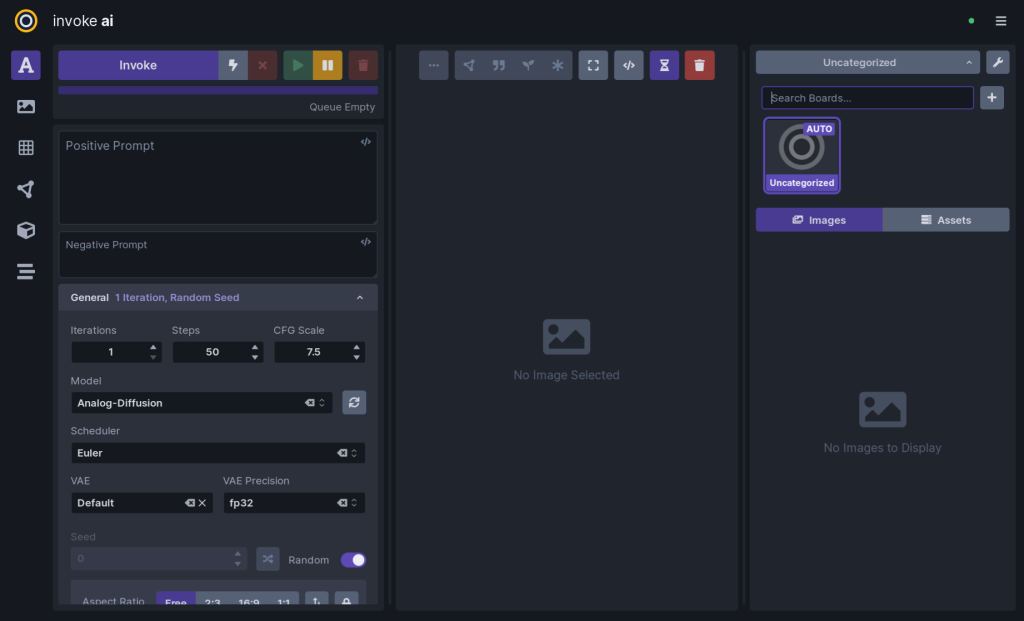
In order to generate an image, you need to enter pick a model and enter your prompts. For example:
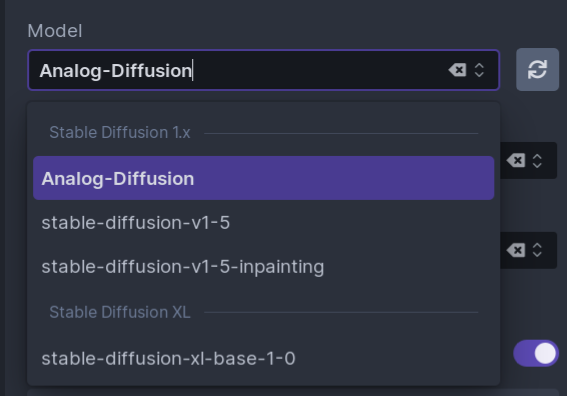
Pick a model from a drop-down list in Load Checkpoint nodeAnalog-Diffusion
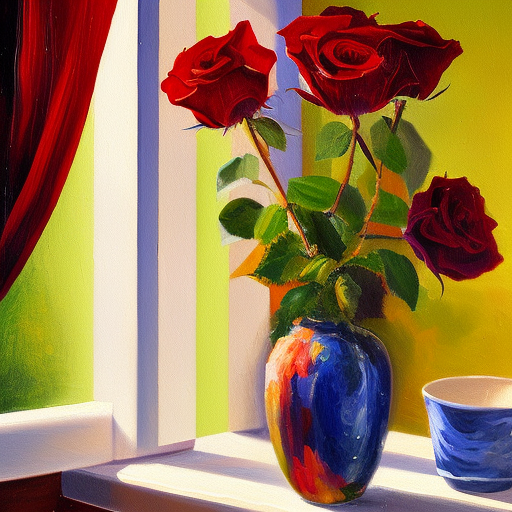
Enter positive prompt in the upper text area under the Invoke button):Oil painting, roses in a flower vase on the kitchen counter, light coming in from the large window,
high quality, highly detailed
Enter negative prompt in the lower text area:low quality
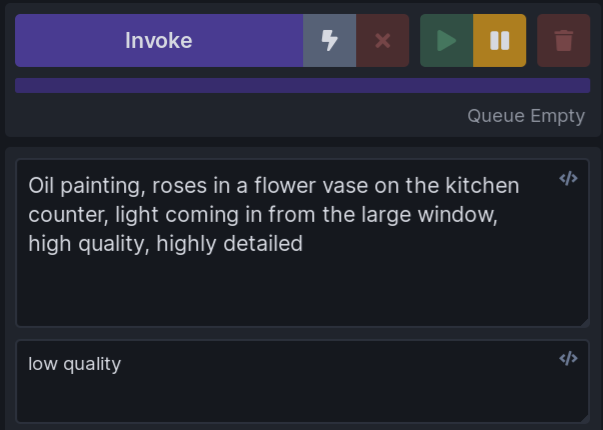
Click Invoke.
Then you should see something similar to below:
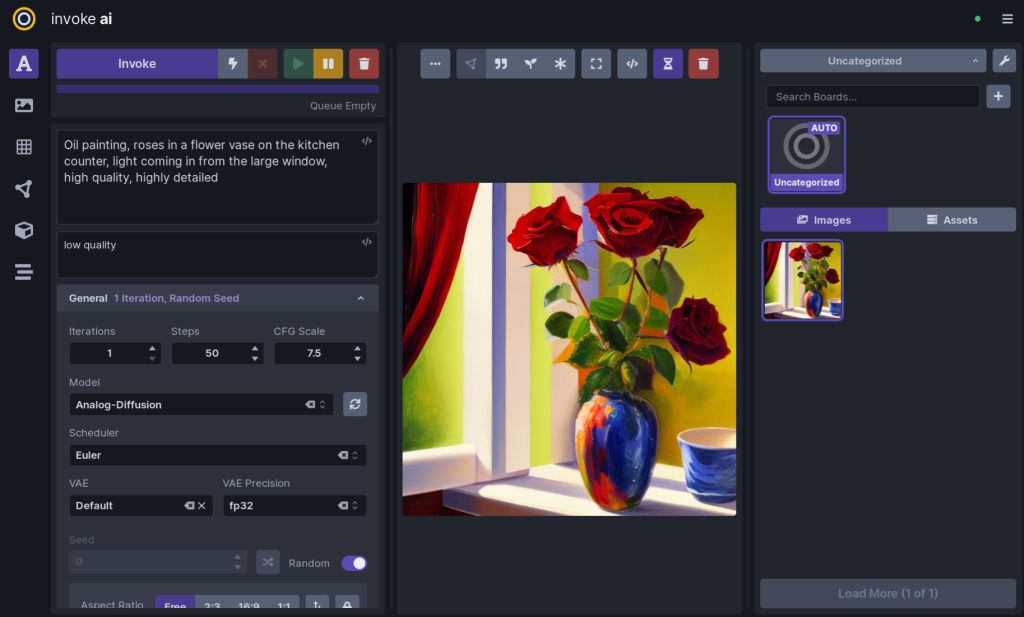
Your image has been saved in the ‘outputs/images’ directory within the invokeai directory that you installed the software (e.g. ‘invokeai/outputs/images’).