
Welcome to the first episode of our Fooocus tutorial series! Fooocus boasts an elegantly designed user interface, streamlined for ease of use, allowing users to generate images without navigating through numerous options typically found in image generation software. Remarkably, this user-friendly approach is achieved without compromising image quality. Fooocus empowers users to effortlessly create stunning images, blending simplicity with excellence. This tutorial covers steps for locally installed Fooocus.
Installation
You can install from https://github.com/lllyasviel/Fooocus. The page has detailed instructions that you can follow.
Basic Usage
Once you follow the instructions, activate your virtual environment and type python entry_with_update.py. You should see console output similar to below. It will start the server and show you the URL to access. It should also open tab on your browser automatically. If not, access the URL shown in console.
Already up-to-date
Update succeeded.
[System ARGV] ['entry_with_update.py']
Python 3.10.13 (main, Sep 11 2023, 13:44:35) [GCC 11.2.0]
Fooocus version: 2.1.862
Running on local URL:  http://127.0.0.1:7865
You should see the below screen:
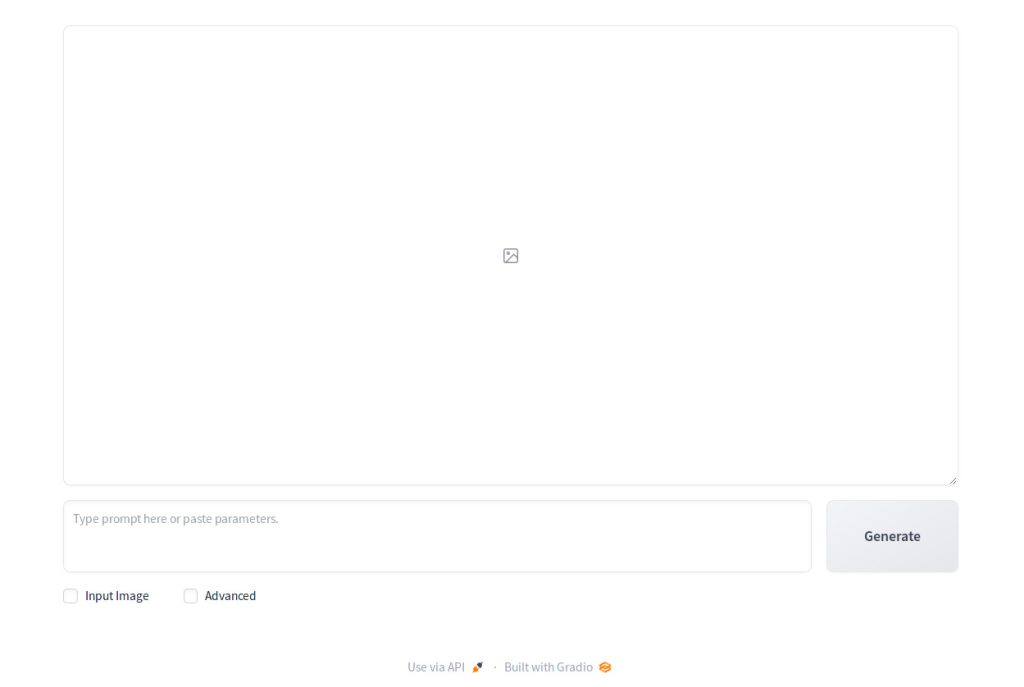
Now enter the following in the prompt field which says: “Type prompt here and paste parameters.” Press Generate.
Bright red roses in a vase on the kitchen counter by a large window, though which sunshine is coming. Beautiful morning on a spring day in New York.You should see two images of roses generated like below:
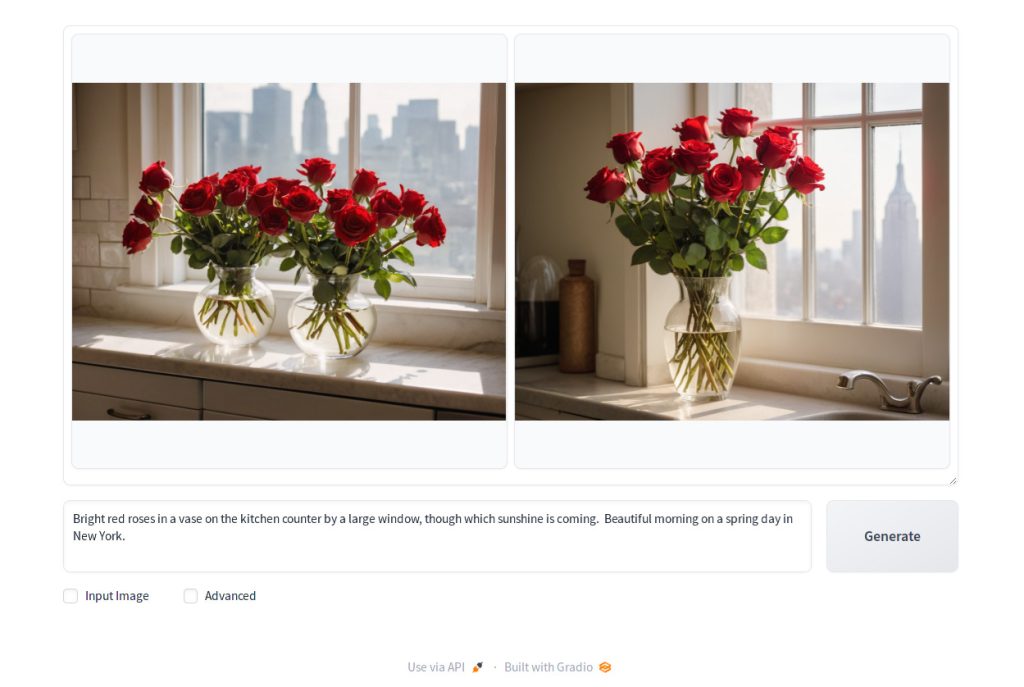
You generated your first images using Fooocus. You can find the generated images under Fooocus/outputs/<year>-<month>-<day> directory. If it’s January 21, 2024, then the folder name should be Fooocus/outputs/2024-01-21.
If you want to change the number of images generated at the same time, check the Advanced checkbox.
Now Settings tab will open up on which you can select the image size (Aspect Ratio) and the number of images (Image Number) to generate.
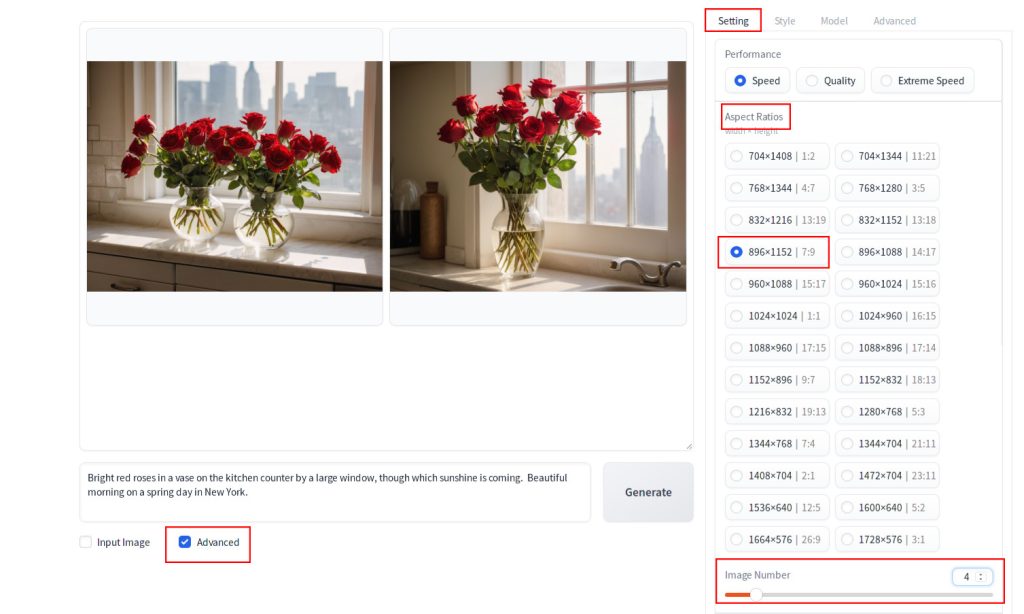
In this settings, Aspecr Ratio was changed to portrait (896×1152). Let’s generate again to see if this works.
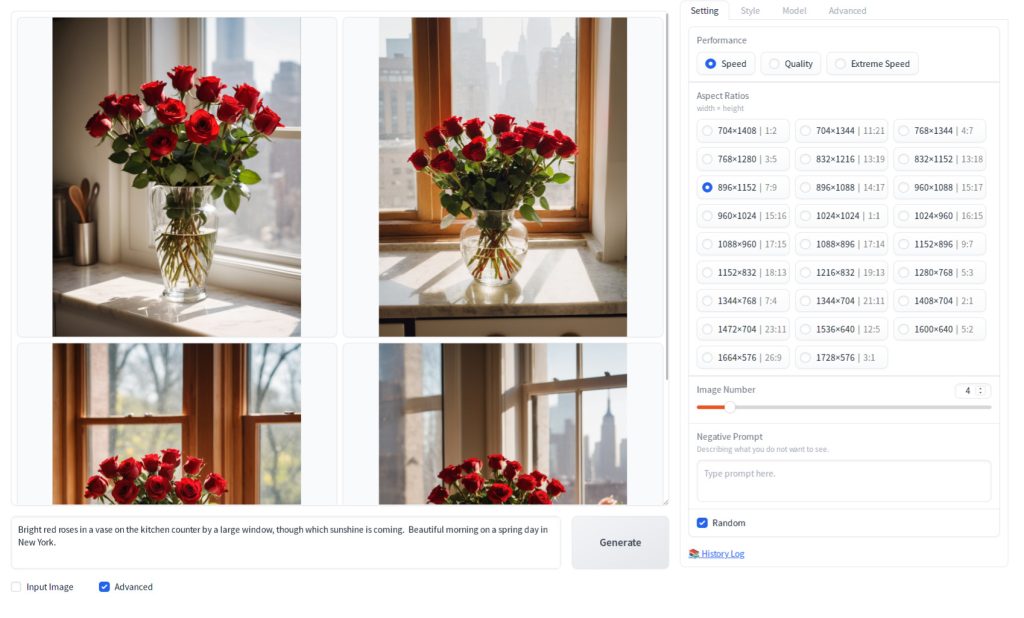
You now see four images instead of two, and the aspect ratio is precisely as anticipated. Congratulations on completing our first tutorial on how to use Fooocus! Next, explore your creativity by generating images that align with your inner vision. Have fun!