In this tutorial, we will discuss an example of how to generate a photo-realistic image from line art using ControlNet.
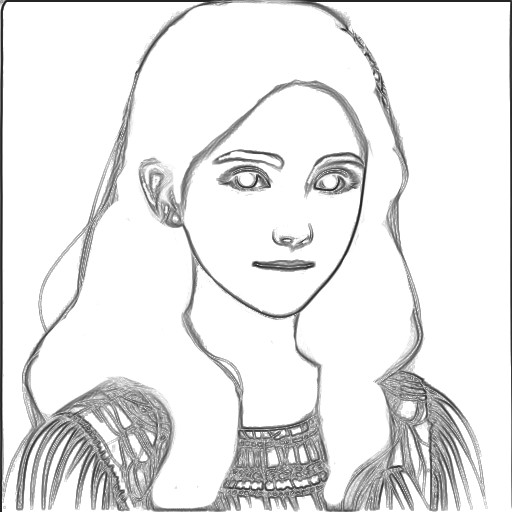
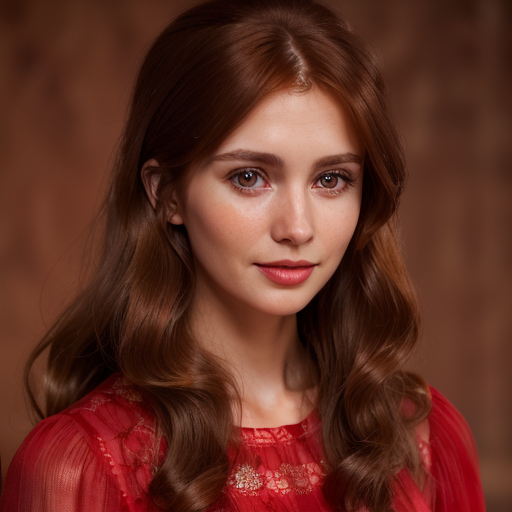
I first generated an image using Stable Diffusion, Then using GIMP, I extracted edges and did some clean-up. It’s worth noting that the line drawing doesn’t need to be immaculate; a rough outline like the one shown above is typically sufficient.
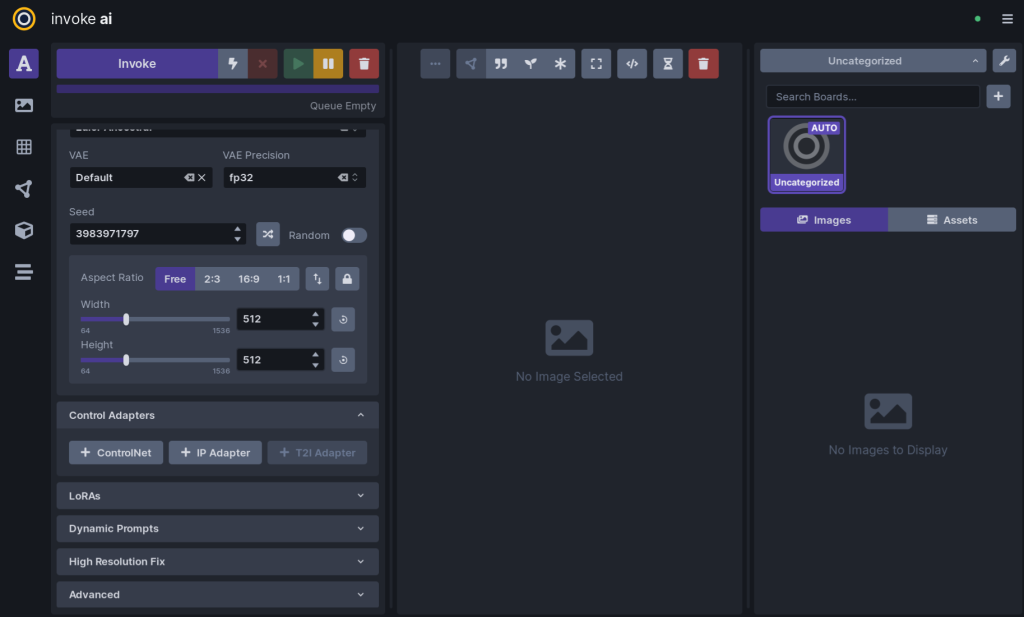
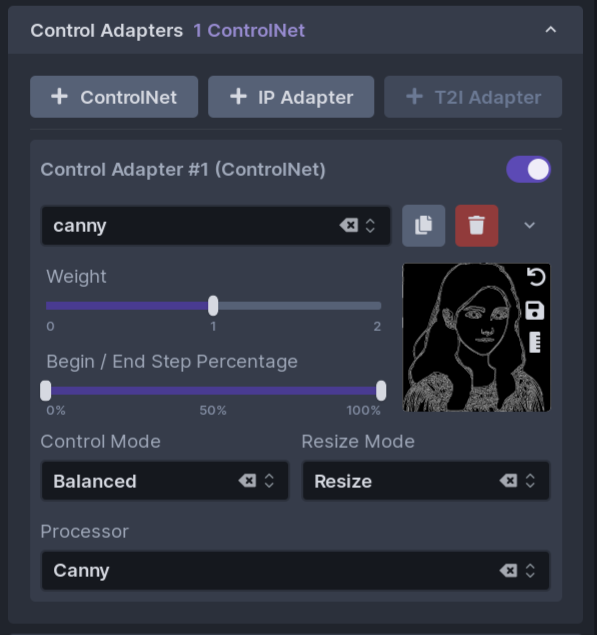
Scroll down the left-most pane until you see the section Control Adapters. Click “+ ControlNet” button.
Control Adapter configuration panel should open up.
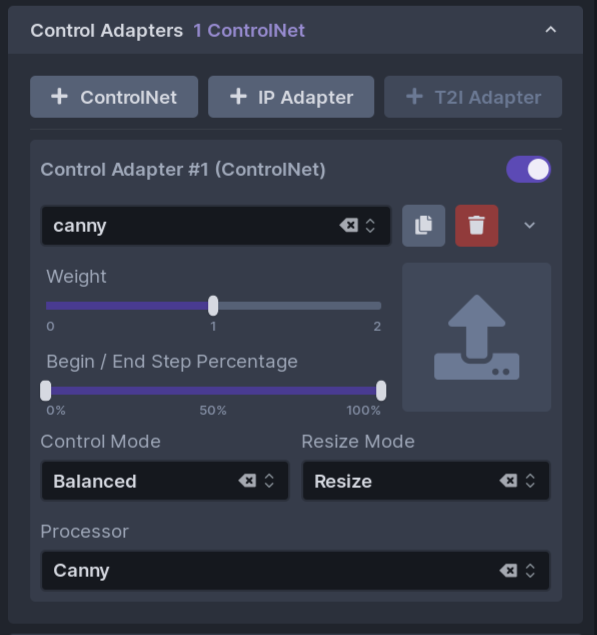
Click the up arrow button in the middle. It should show a file chooser dialog. Select the line drawing image file. After selection, it should be shown with black and white reversed like below.
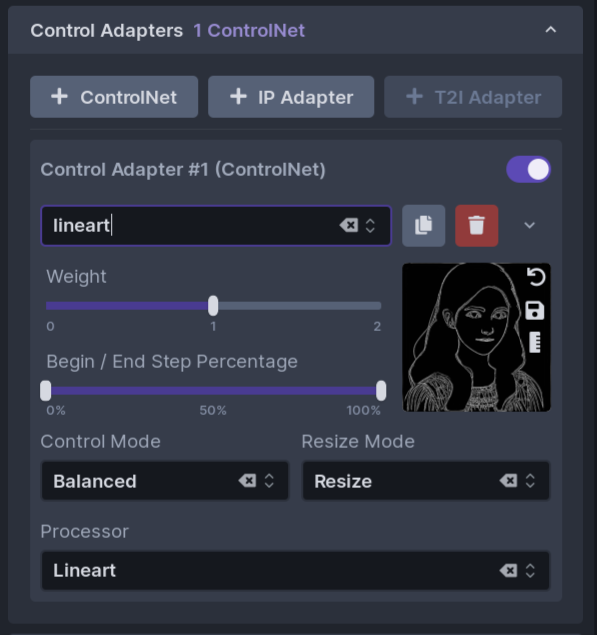
Now change the value of both Control Adapter #1 and Processor from Canny to lineart.
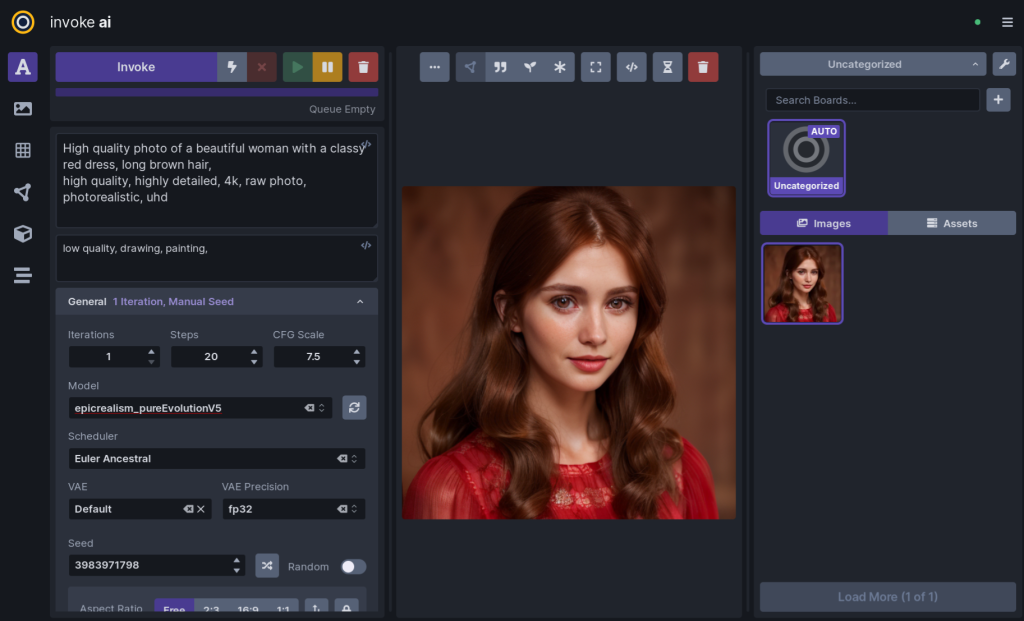
Scroll up the left pane and enter positive and negative prompts.
PositiveHigh quality photo of a beautiful woman with a classy red dress, long brown hair,
high quality, highly detailed, 4k, raw photo, photorealistic, uhd
Negative:low quality, drawing, painting,
Press Invoke

You will see a photo-realistic image like below is generated. Note that the image closely follows the lines in the original line art.
Displayed here is the actual image. For comparison, I’ve placed the line art on the left side once again.